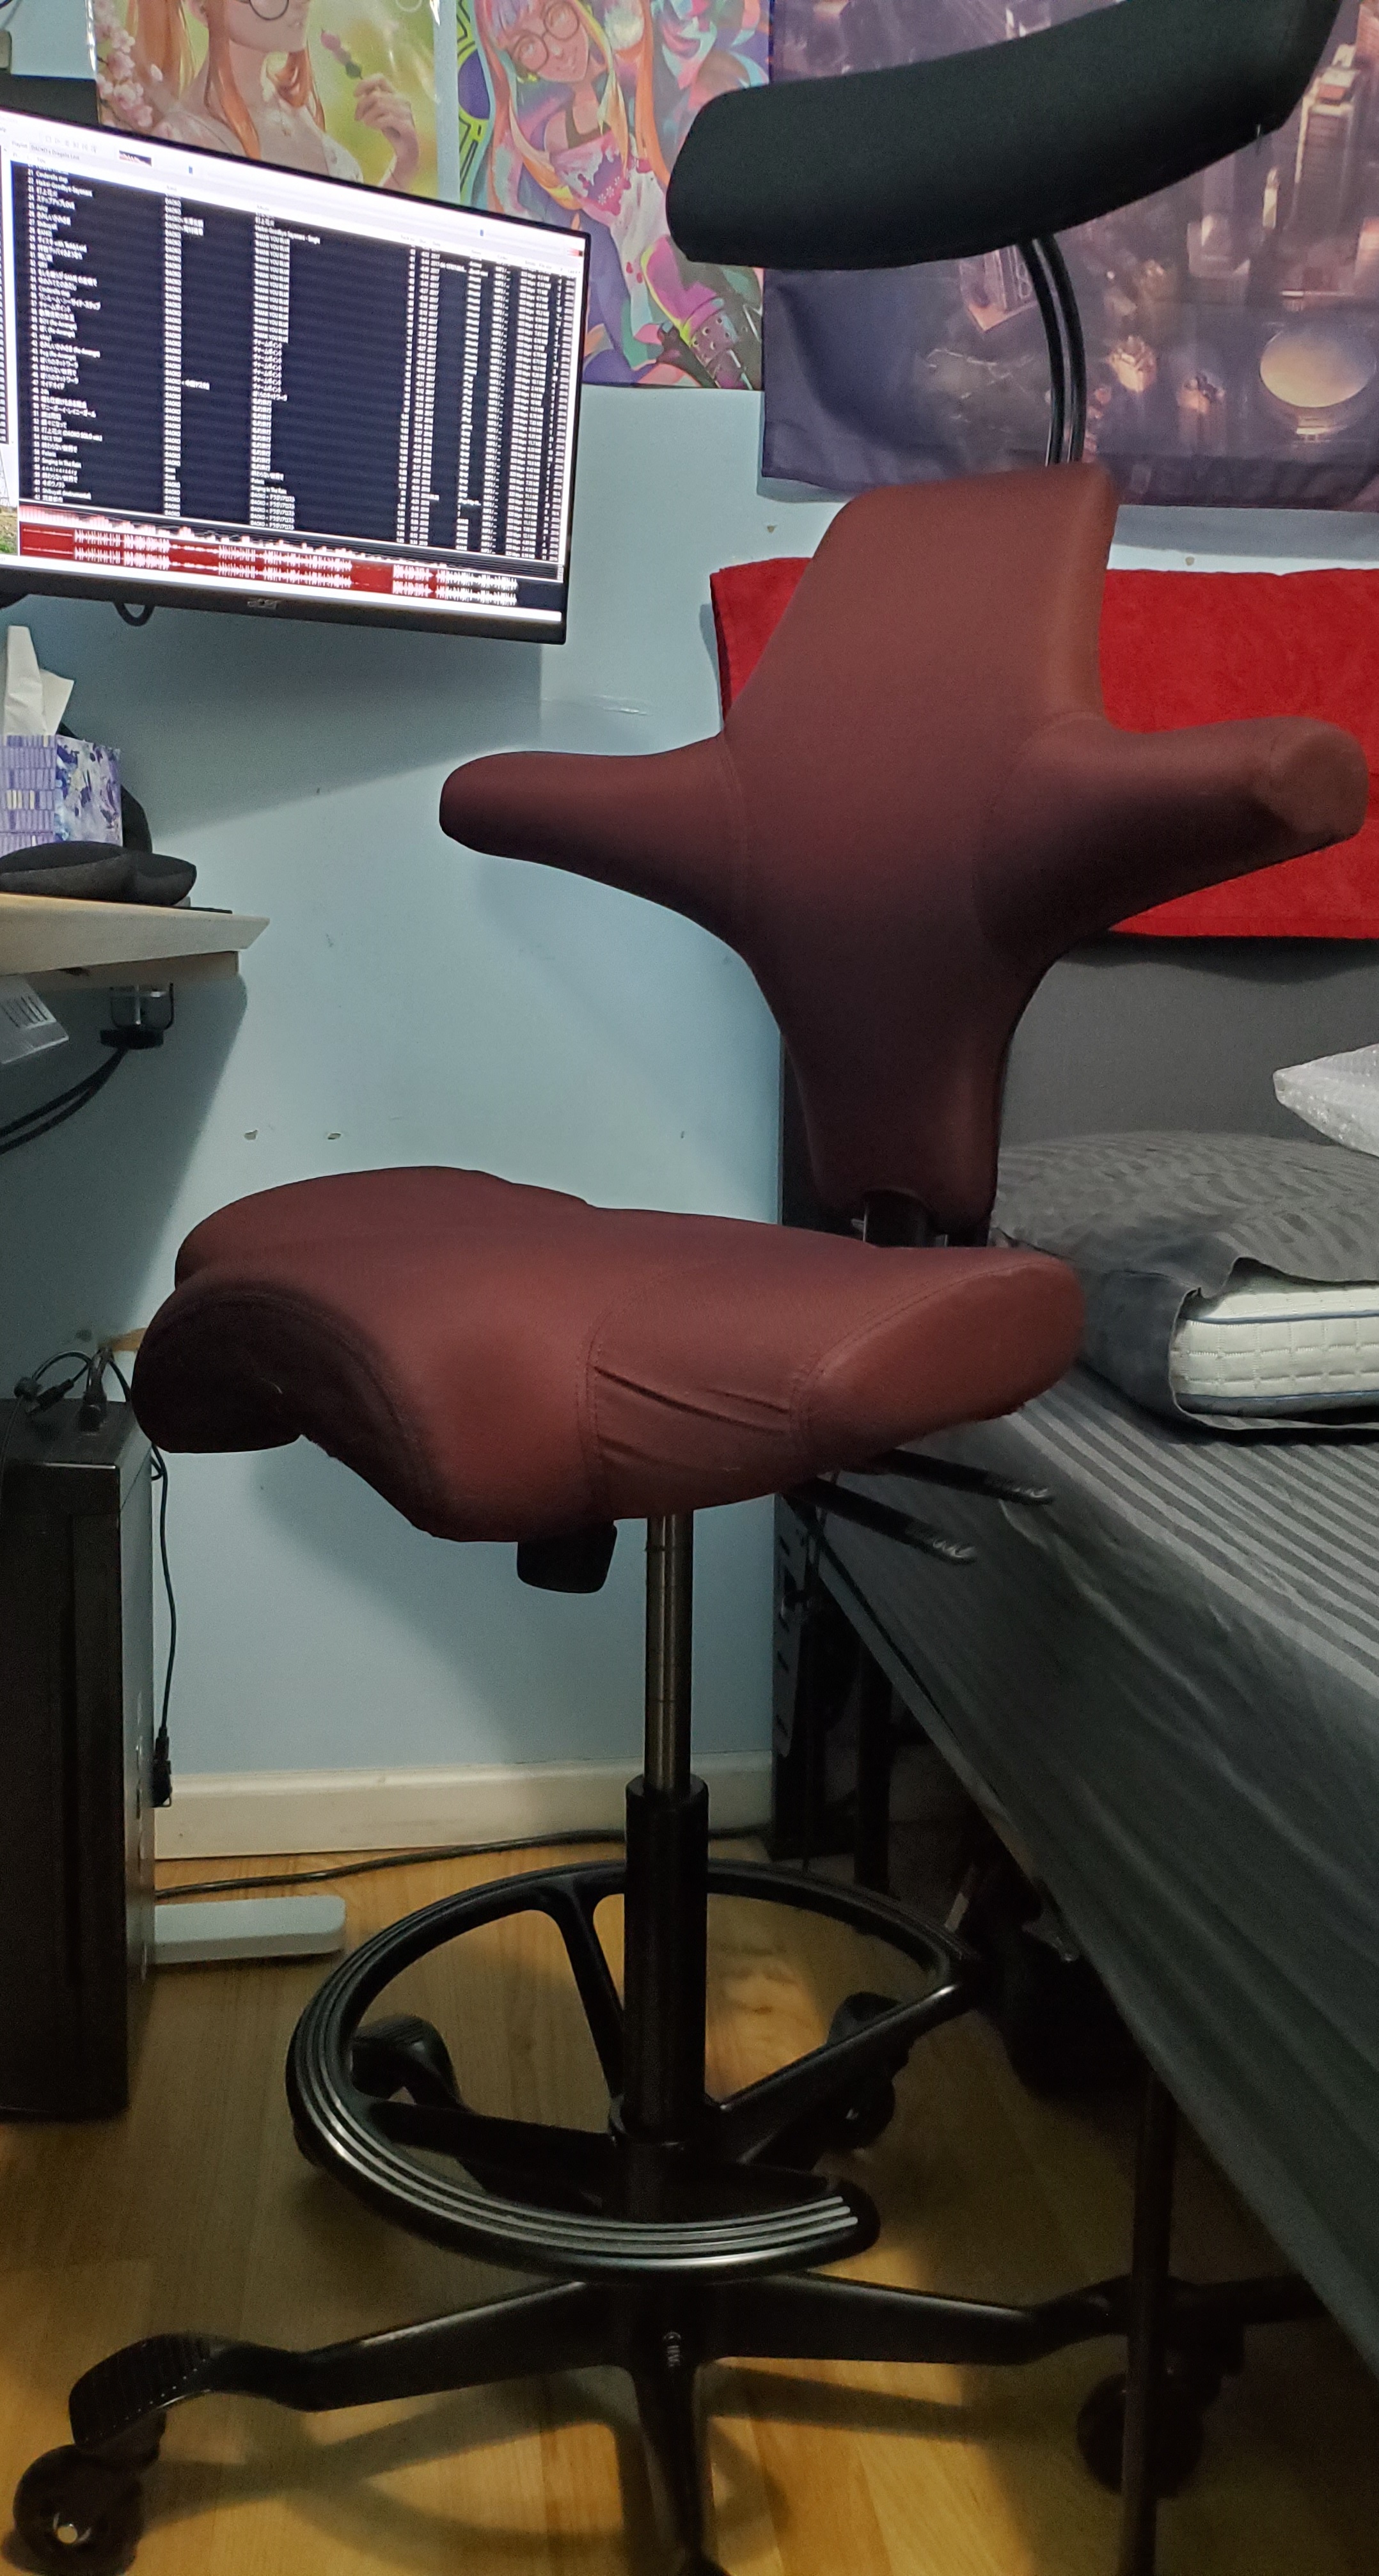
Continuing on the spirit of DIY Projects, here finally is Part 2 for how my HAG Capisco Chair came to fruition. This project has been done since April but there’s been many many things that have happened during this COVID19 Lockdown. As you could see in the previous posts’ “completed” picture, some of the hardware was grey and with the final finished product, the colors look more overall consistent/neutral. This project was another play with colors, but it was more a morph from the previous existing worn-looking grey into a cleaner black.
Since the original HAG Capisco chair was used I wanted to buy some new parts to make it feel new again, in comparison to its previous life in whichever office. This required the purchase of a new Pneumatic Lift and Headrest piece, plus the spray-painting of the original grey hardware. Thankfully, with my timing the price on Fully decreased and I was able to get the Lift and Footring for about $50 cheapter than what I was looking at for the past month. With the photo below, you can see the different in height between the two pneumatic lifts (which is used quite extensively with my office standing desk). 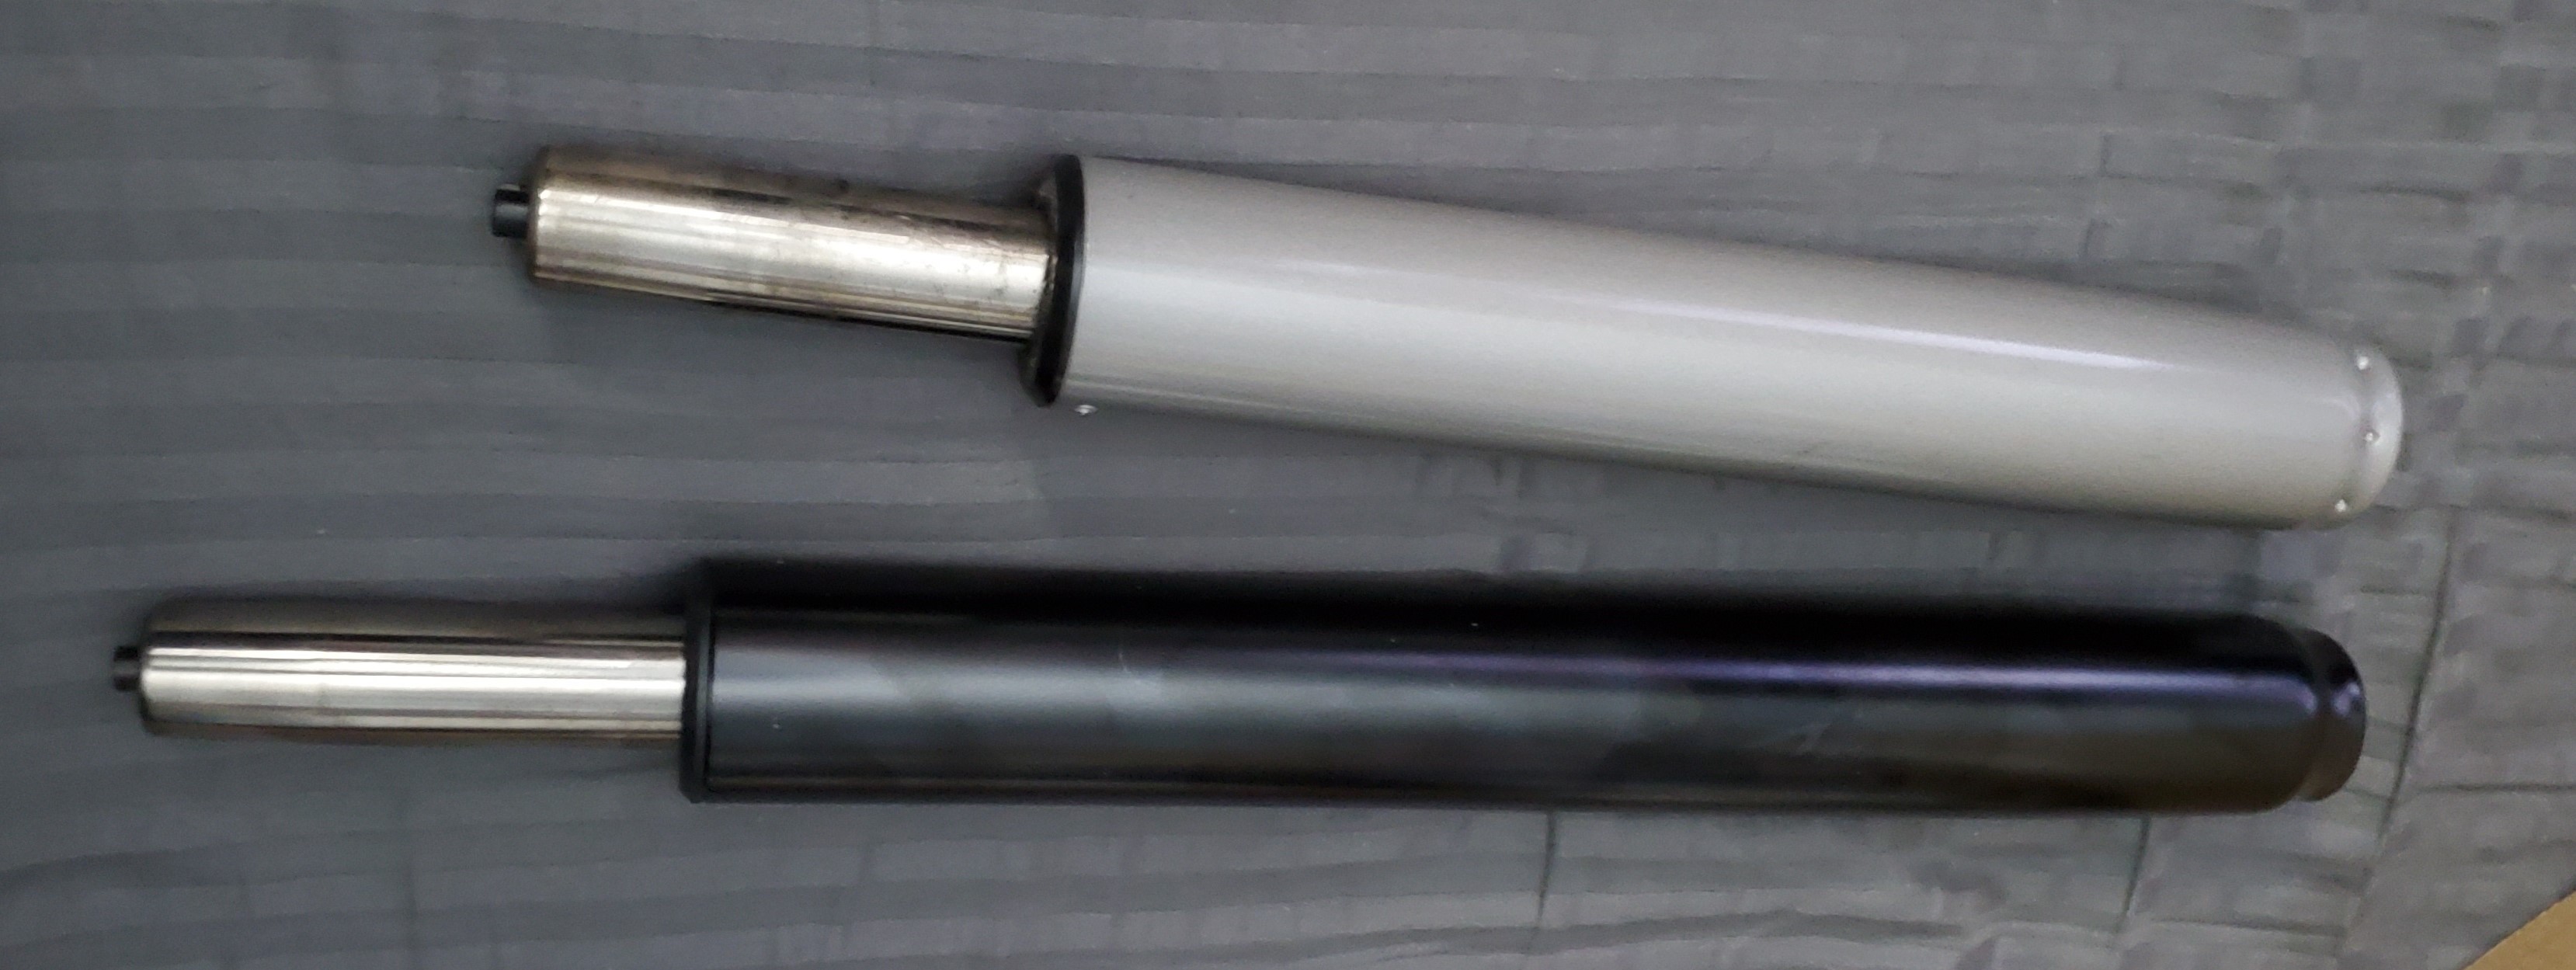
First things first, it’s always important to disassemble the items you plan to spray paint (or properly mask the areas that would be painted. Since I’ve watched a ton of car detailing videos for better maintenance of my own “things,” the same concepts would probably apply to this chair’s hardware, right? For the HAG Capisco, major credits go to this video with Fully being a consistent MVP for the chair.
After the Caster Base and the L Bracket were removed, it was time to clean them so that the spray paint will adhere better. In this case, cleaning is just a matter of using dish soap and water in the bathtub and giving the two pieces a good scrub. I noticed certain spots of the caster base had some chipped paint, whether due to the painting of the factor or the previous usage of an owner, it didn’t bother me all too much. I also sanded/scraped various with a metal scrub during washing so that the paint would also adhere to better areas. 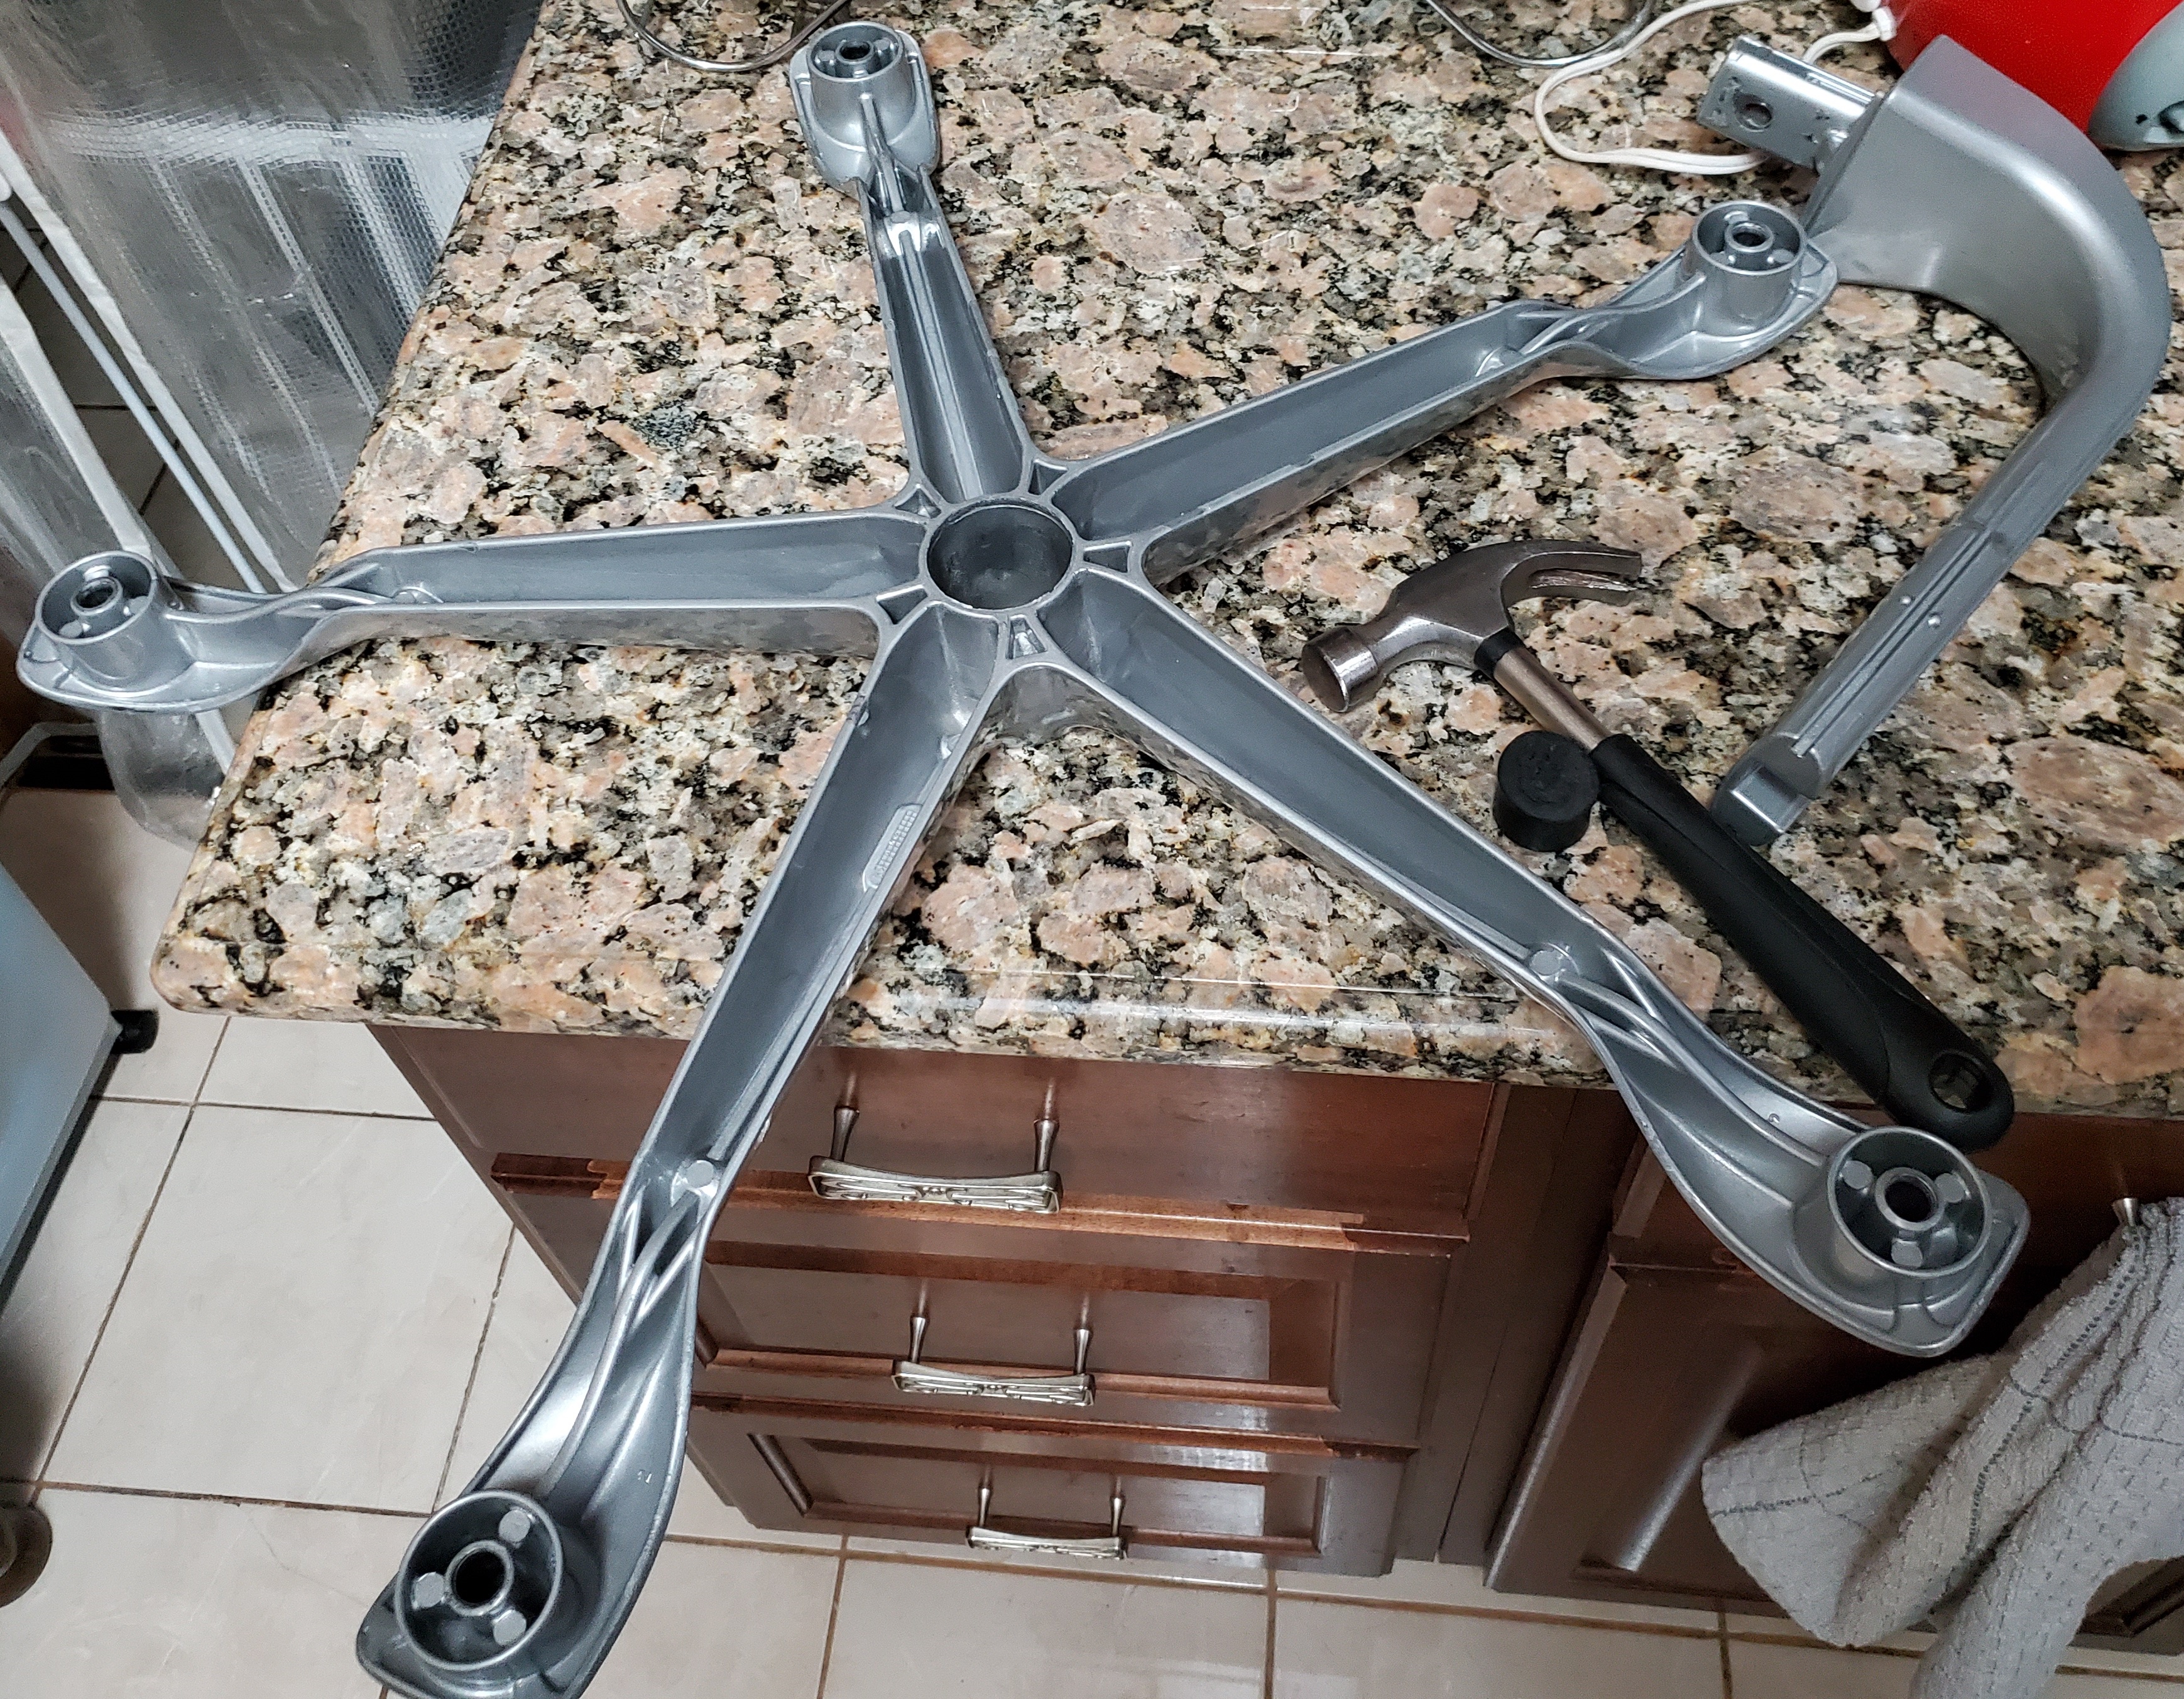
After all this, it was time to let the surfaces dry, but also remove water from deeper recesses. Now comes the part that matters the most, and a way to keep the two parts contained. Typically, painting is always awkward for me in the backyard. Making of the booth was interesting because it was also at night, and windy, and right next to evergreen trees that always release leaves. For this cute and right-fitting booth, all it took was just a clear plastic bag cut flat, a large box, and another large box! Just as any painting project, it’s all the prep work that determines your end result, the spray painting is a very small part of the project. 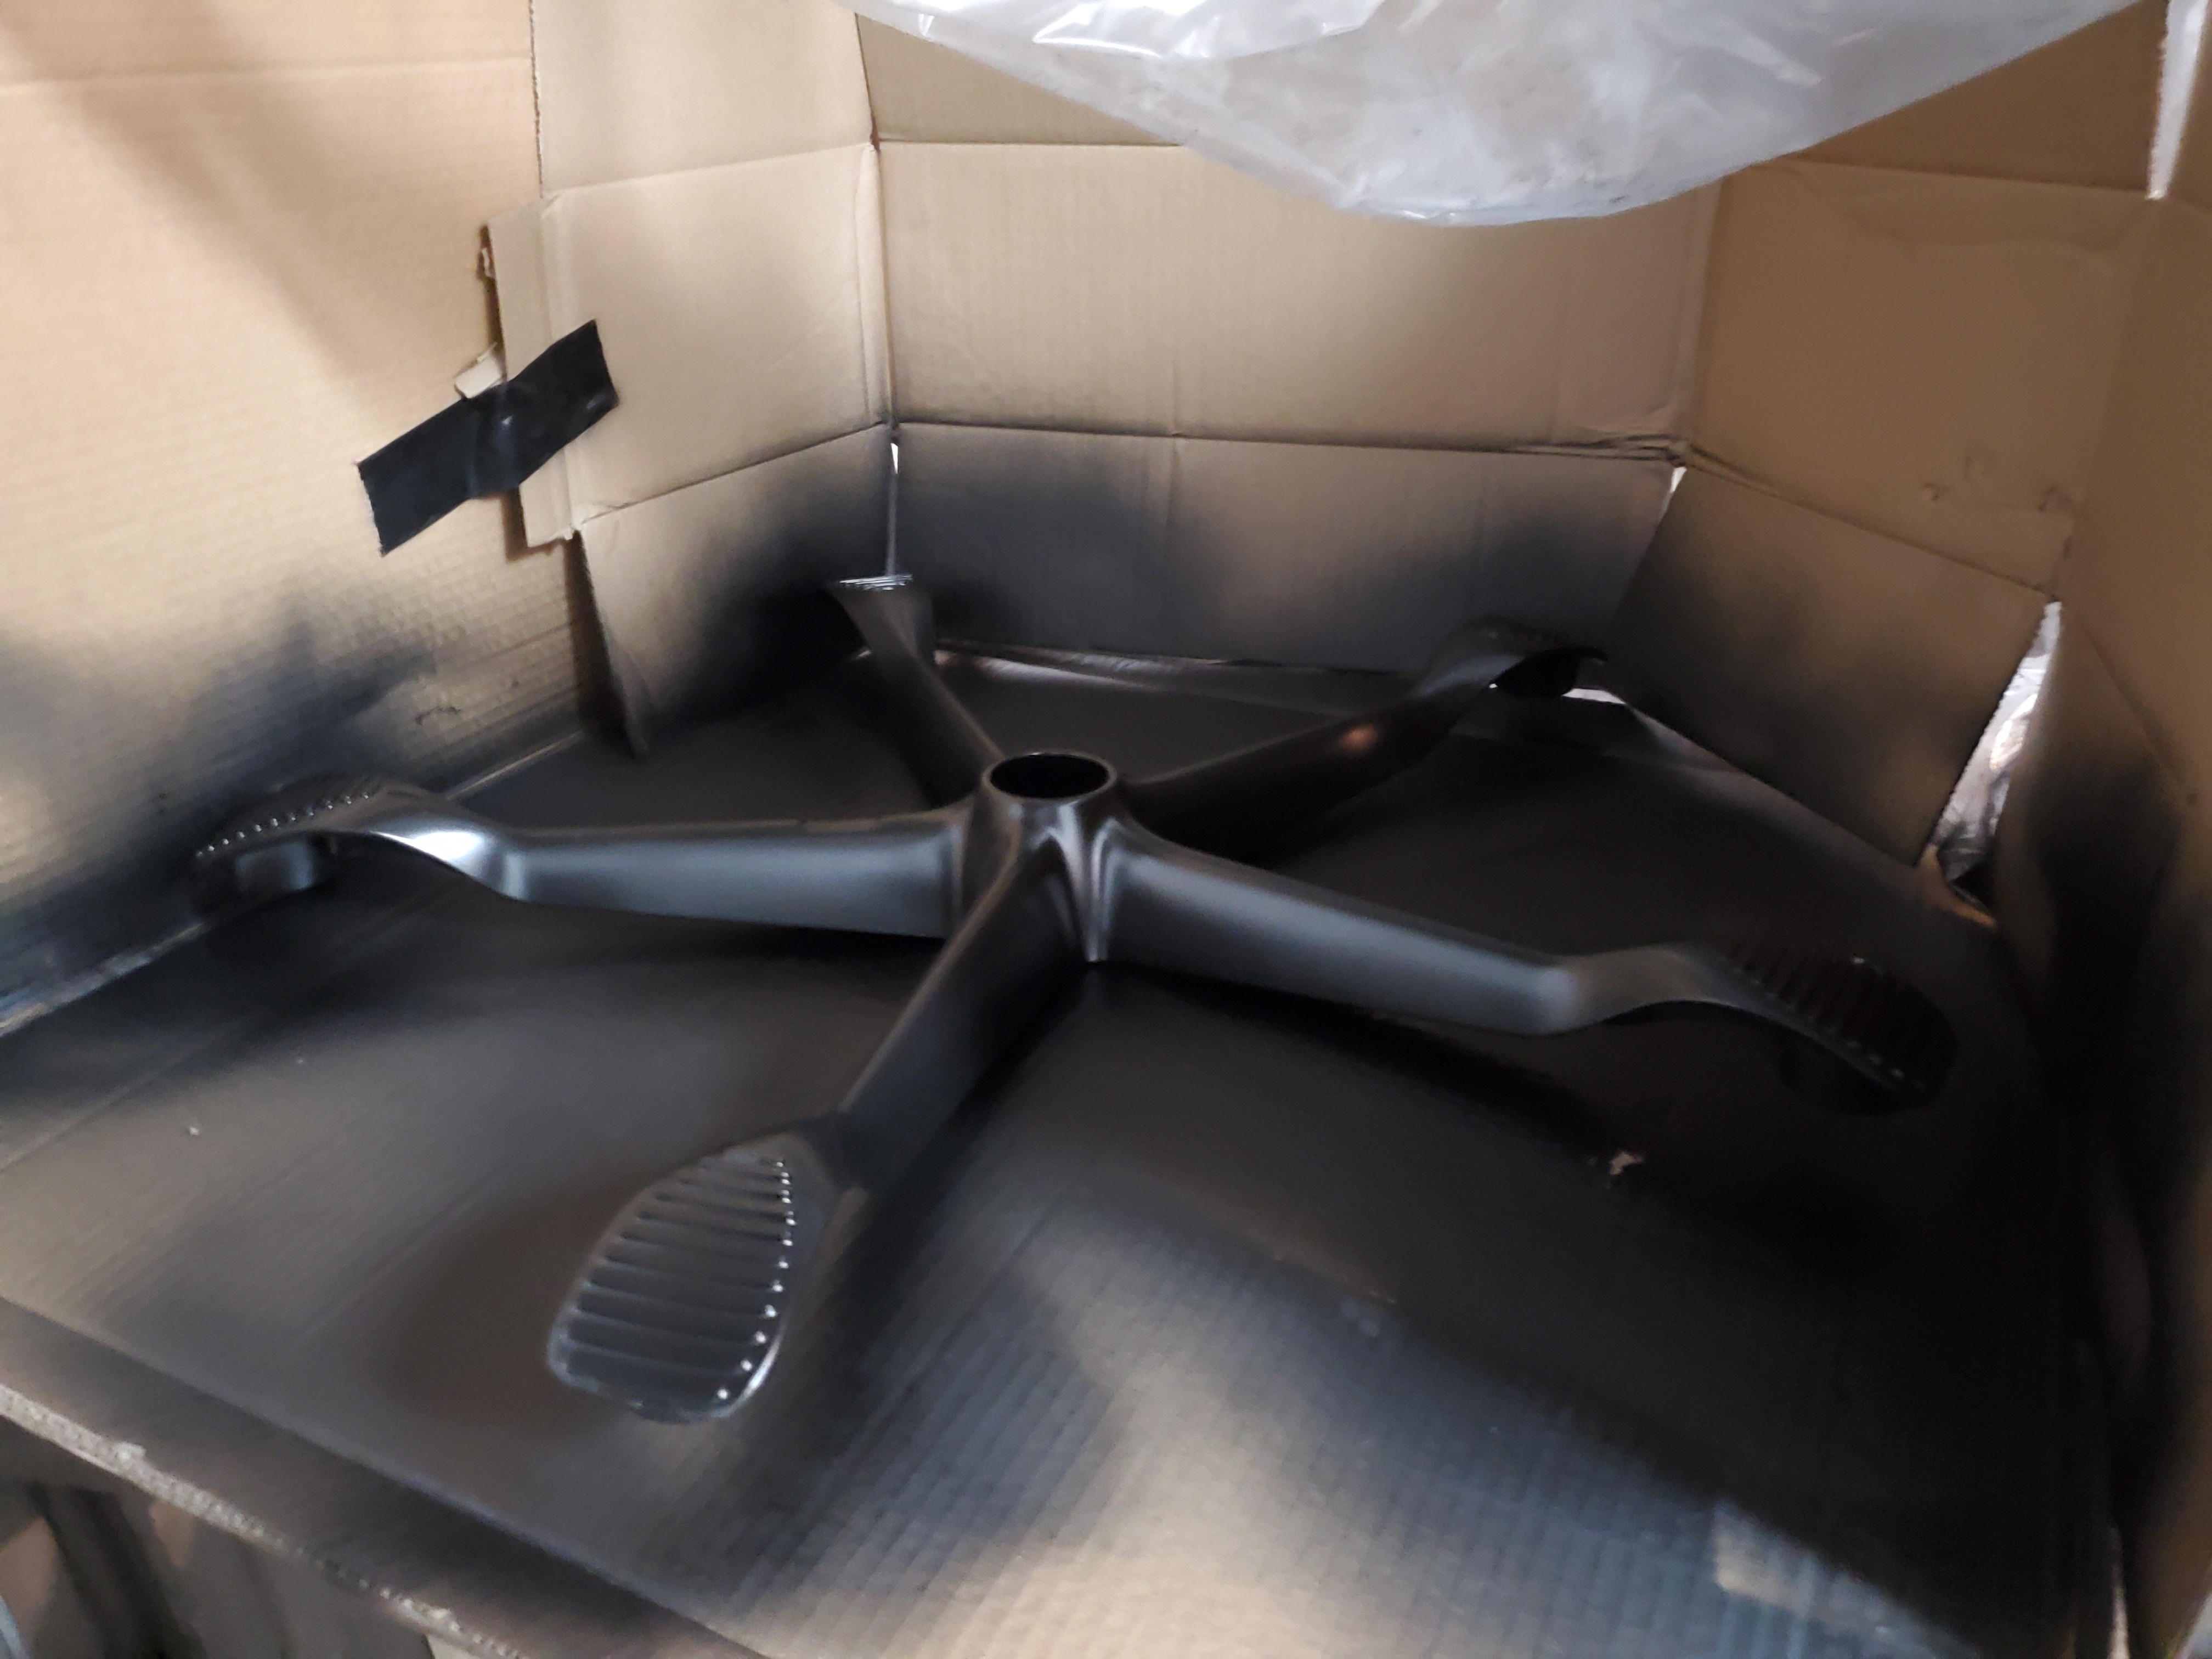
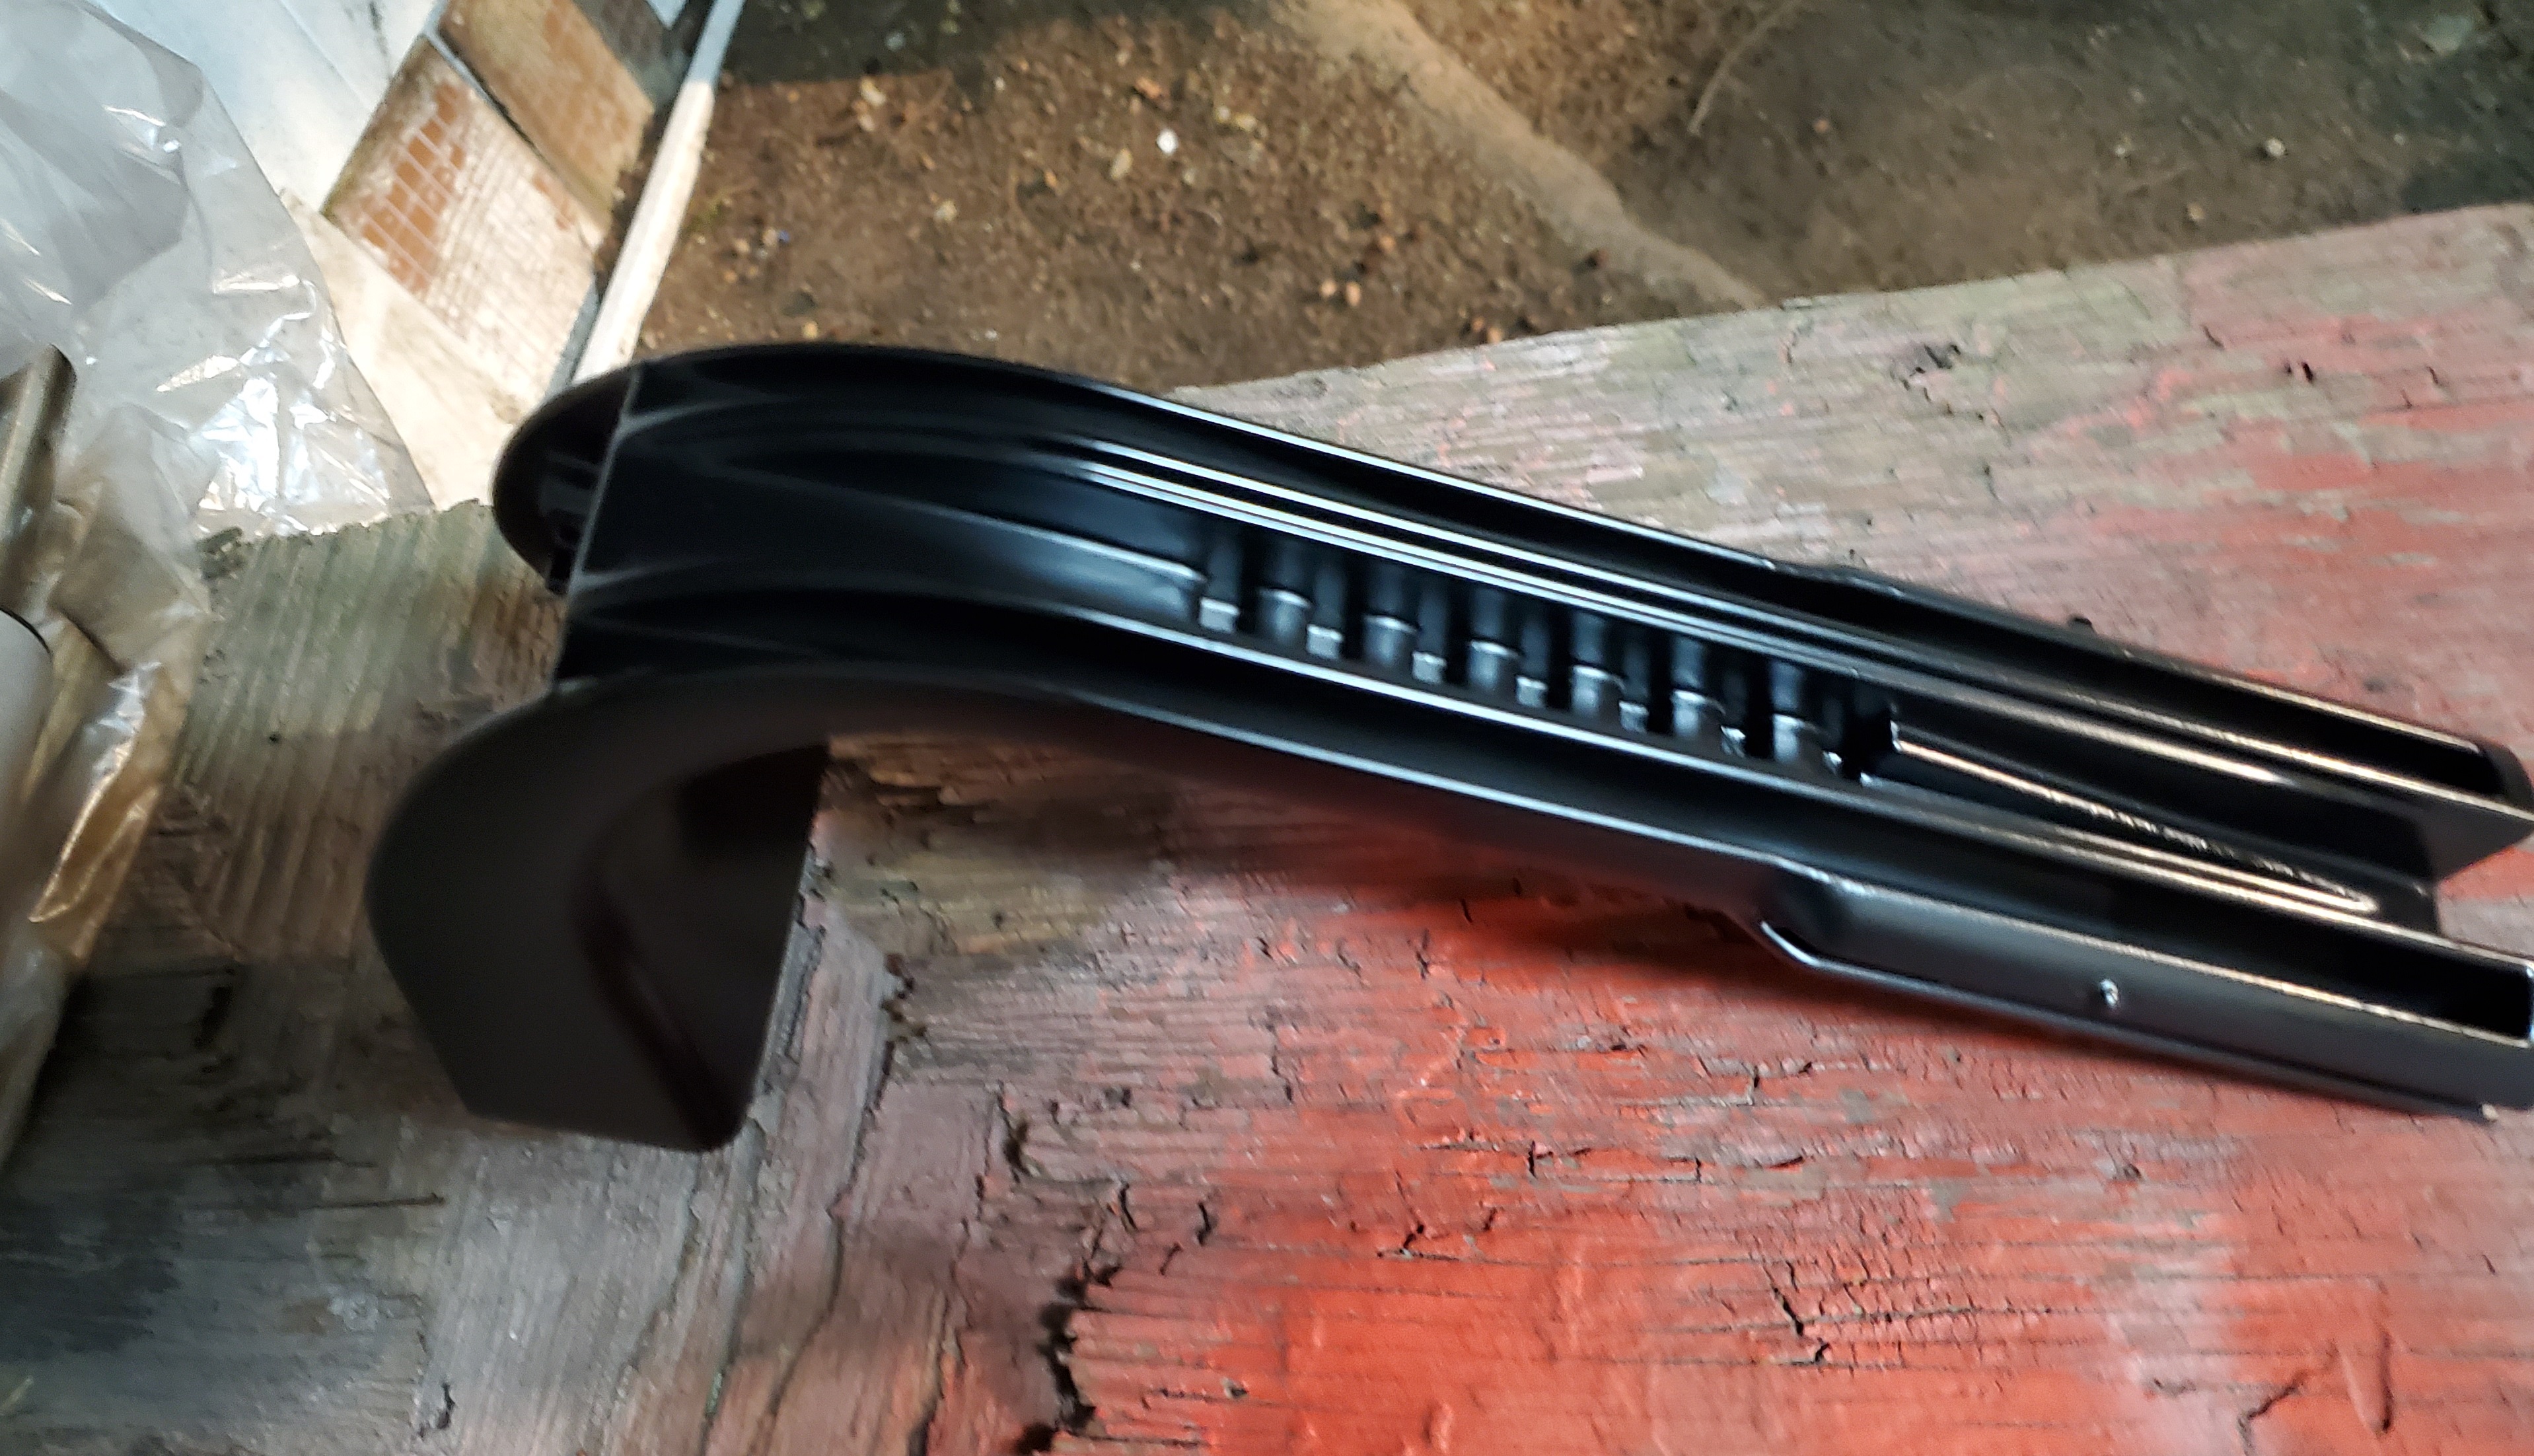
Spray painting was just a matter of following direction on the can. Surfaces prepped, an n95 mask, and gloves to prevent the paint from running off where it shouldn’t be. It was about 5 coats total with ample waiting time in between so that the items adhere. Thankfully, I had Fate G/O to kill some time in between the spray coats as I waited. For the base, I almost messed up due to the fact that the paint was also adhering the base to the cardboard. Since there was a top and bottom, and five prongs to check, I also needed to rotate it after the paint was okay to touch. If not for a wooden stick from an ANYC Castlevania Dracula, I would have an ugly piece of cardboard painted on one of the footrests. One day…I’ll have a hanging spray booth that won’t allow a project to contact the wrong surfaces. 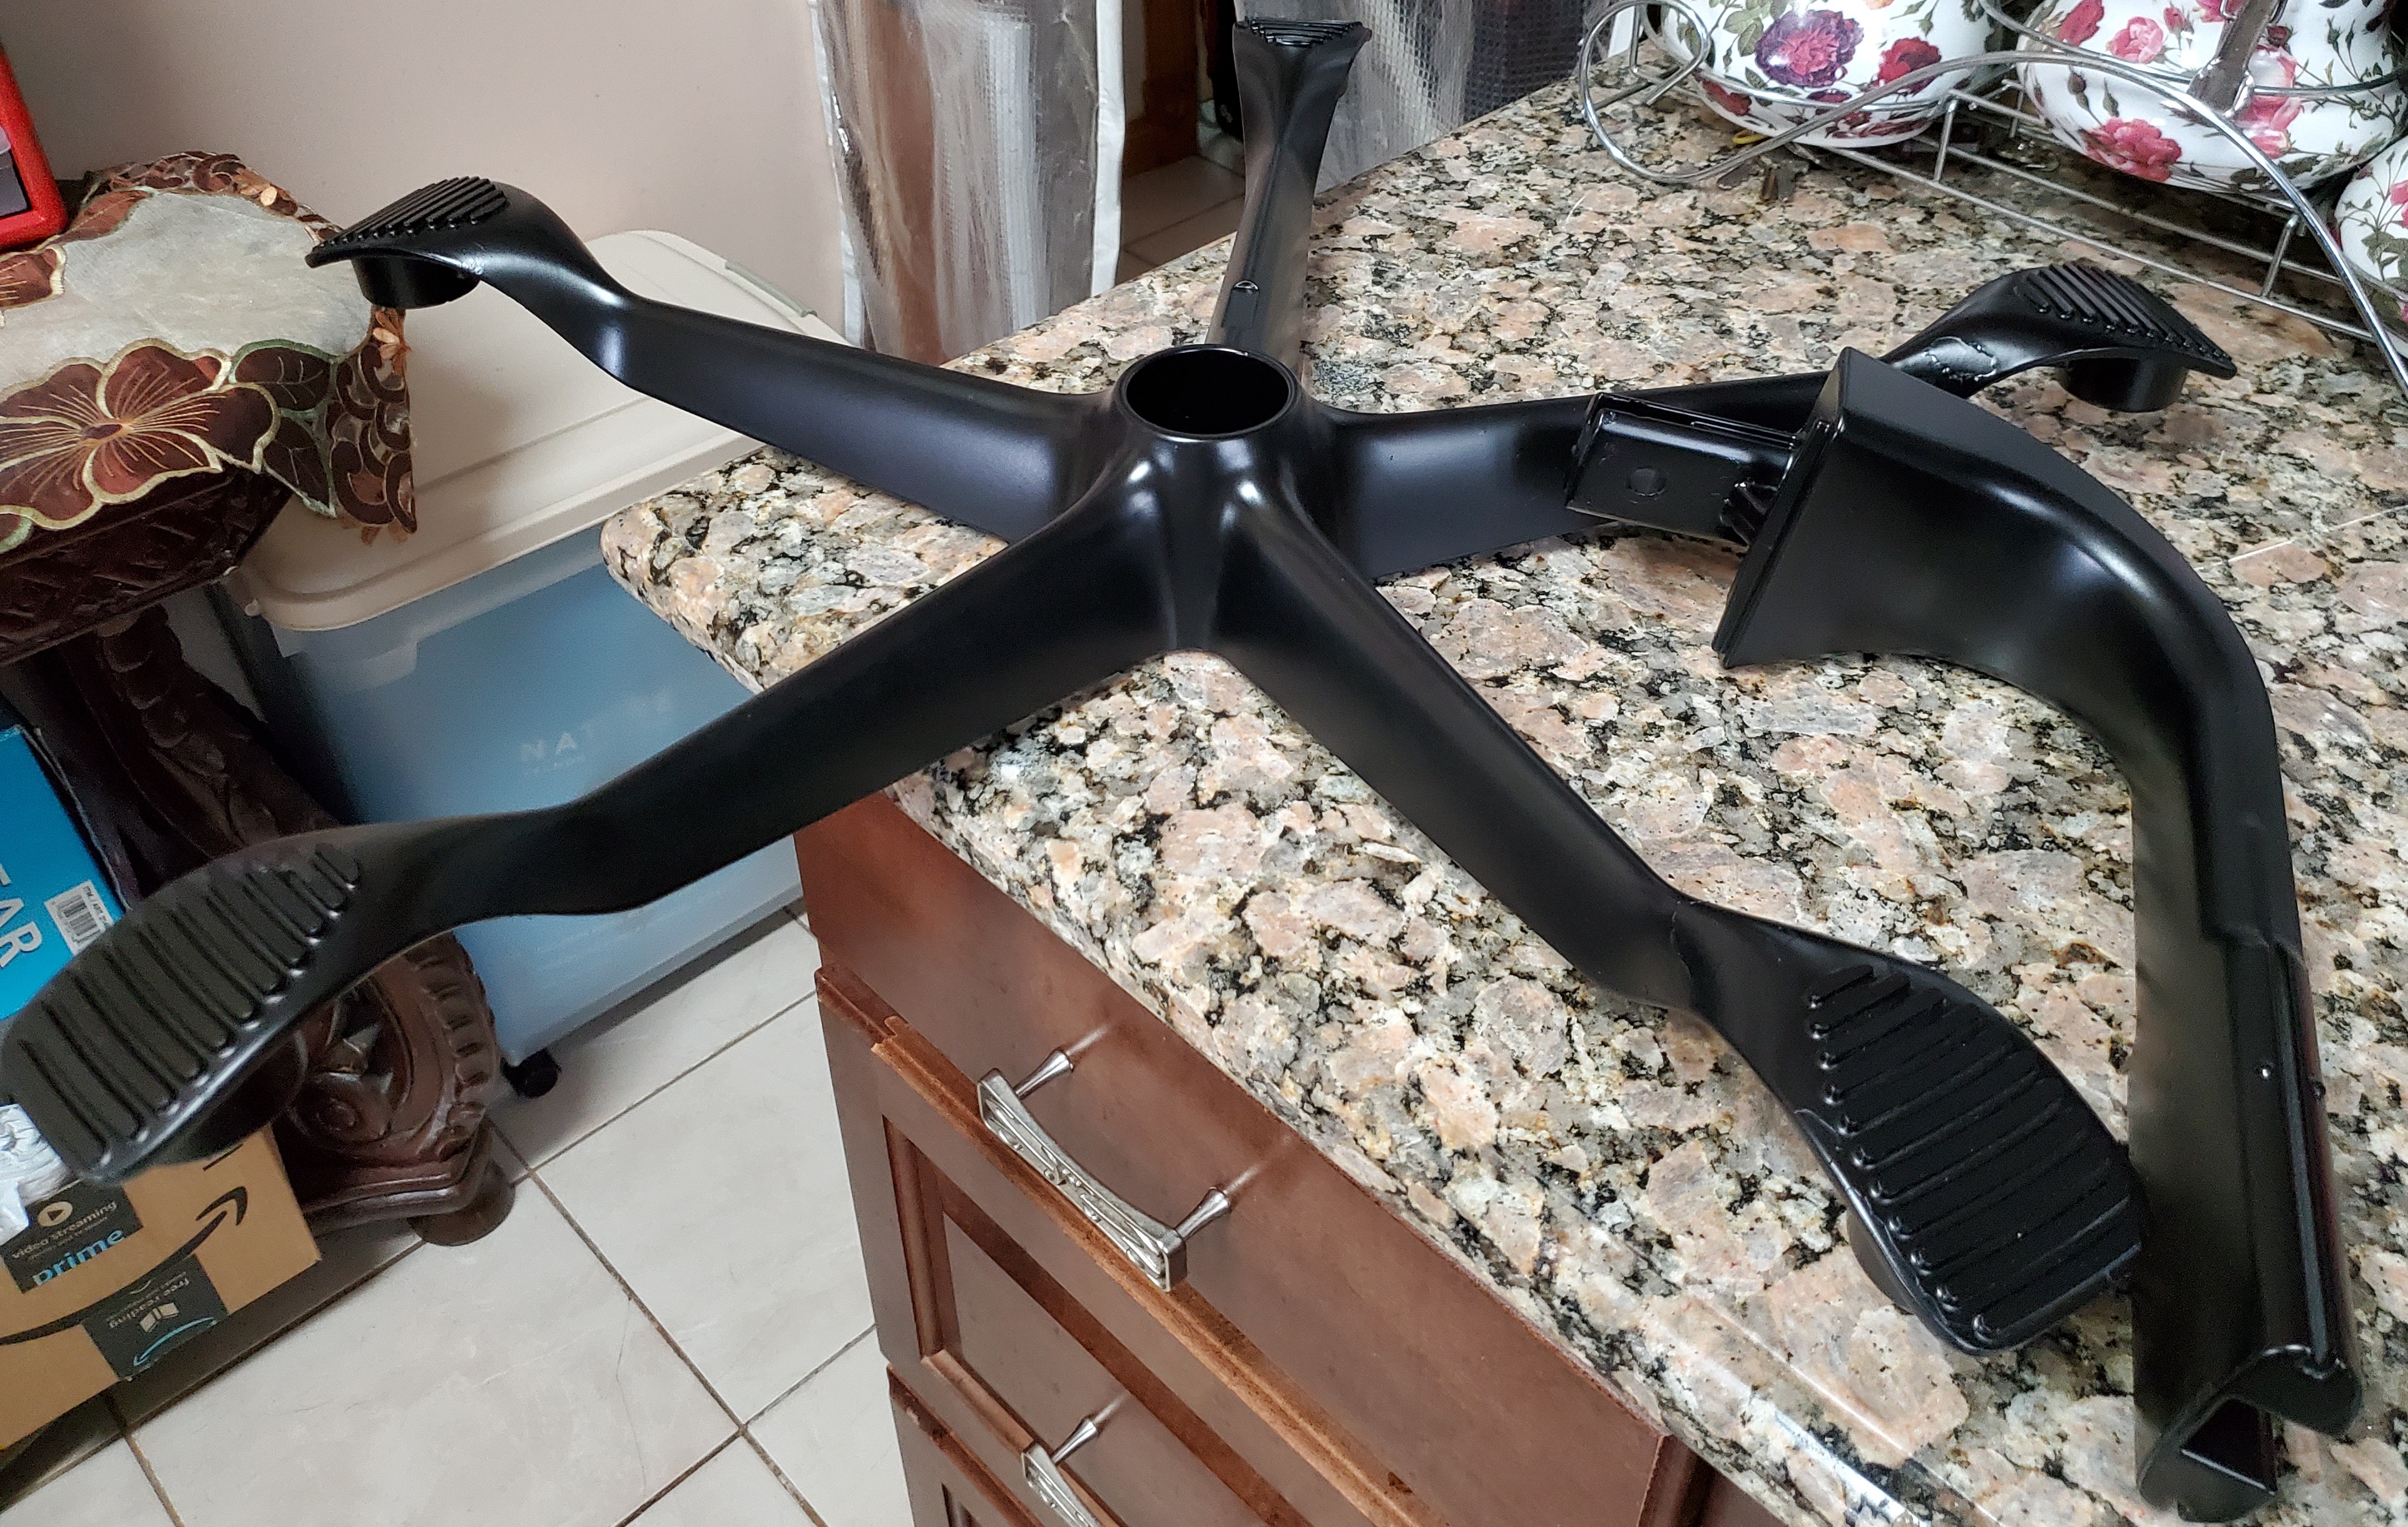
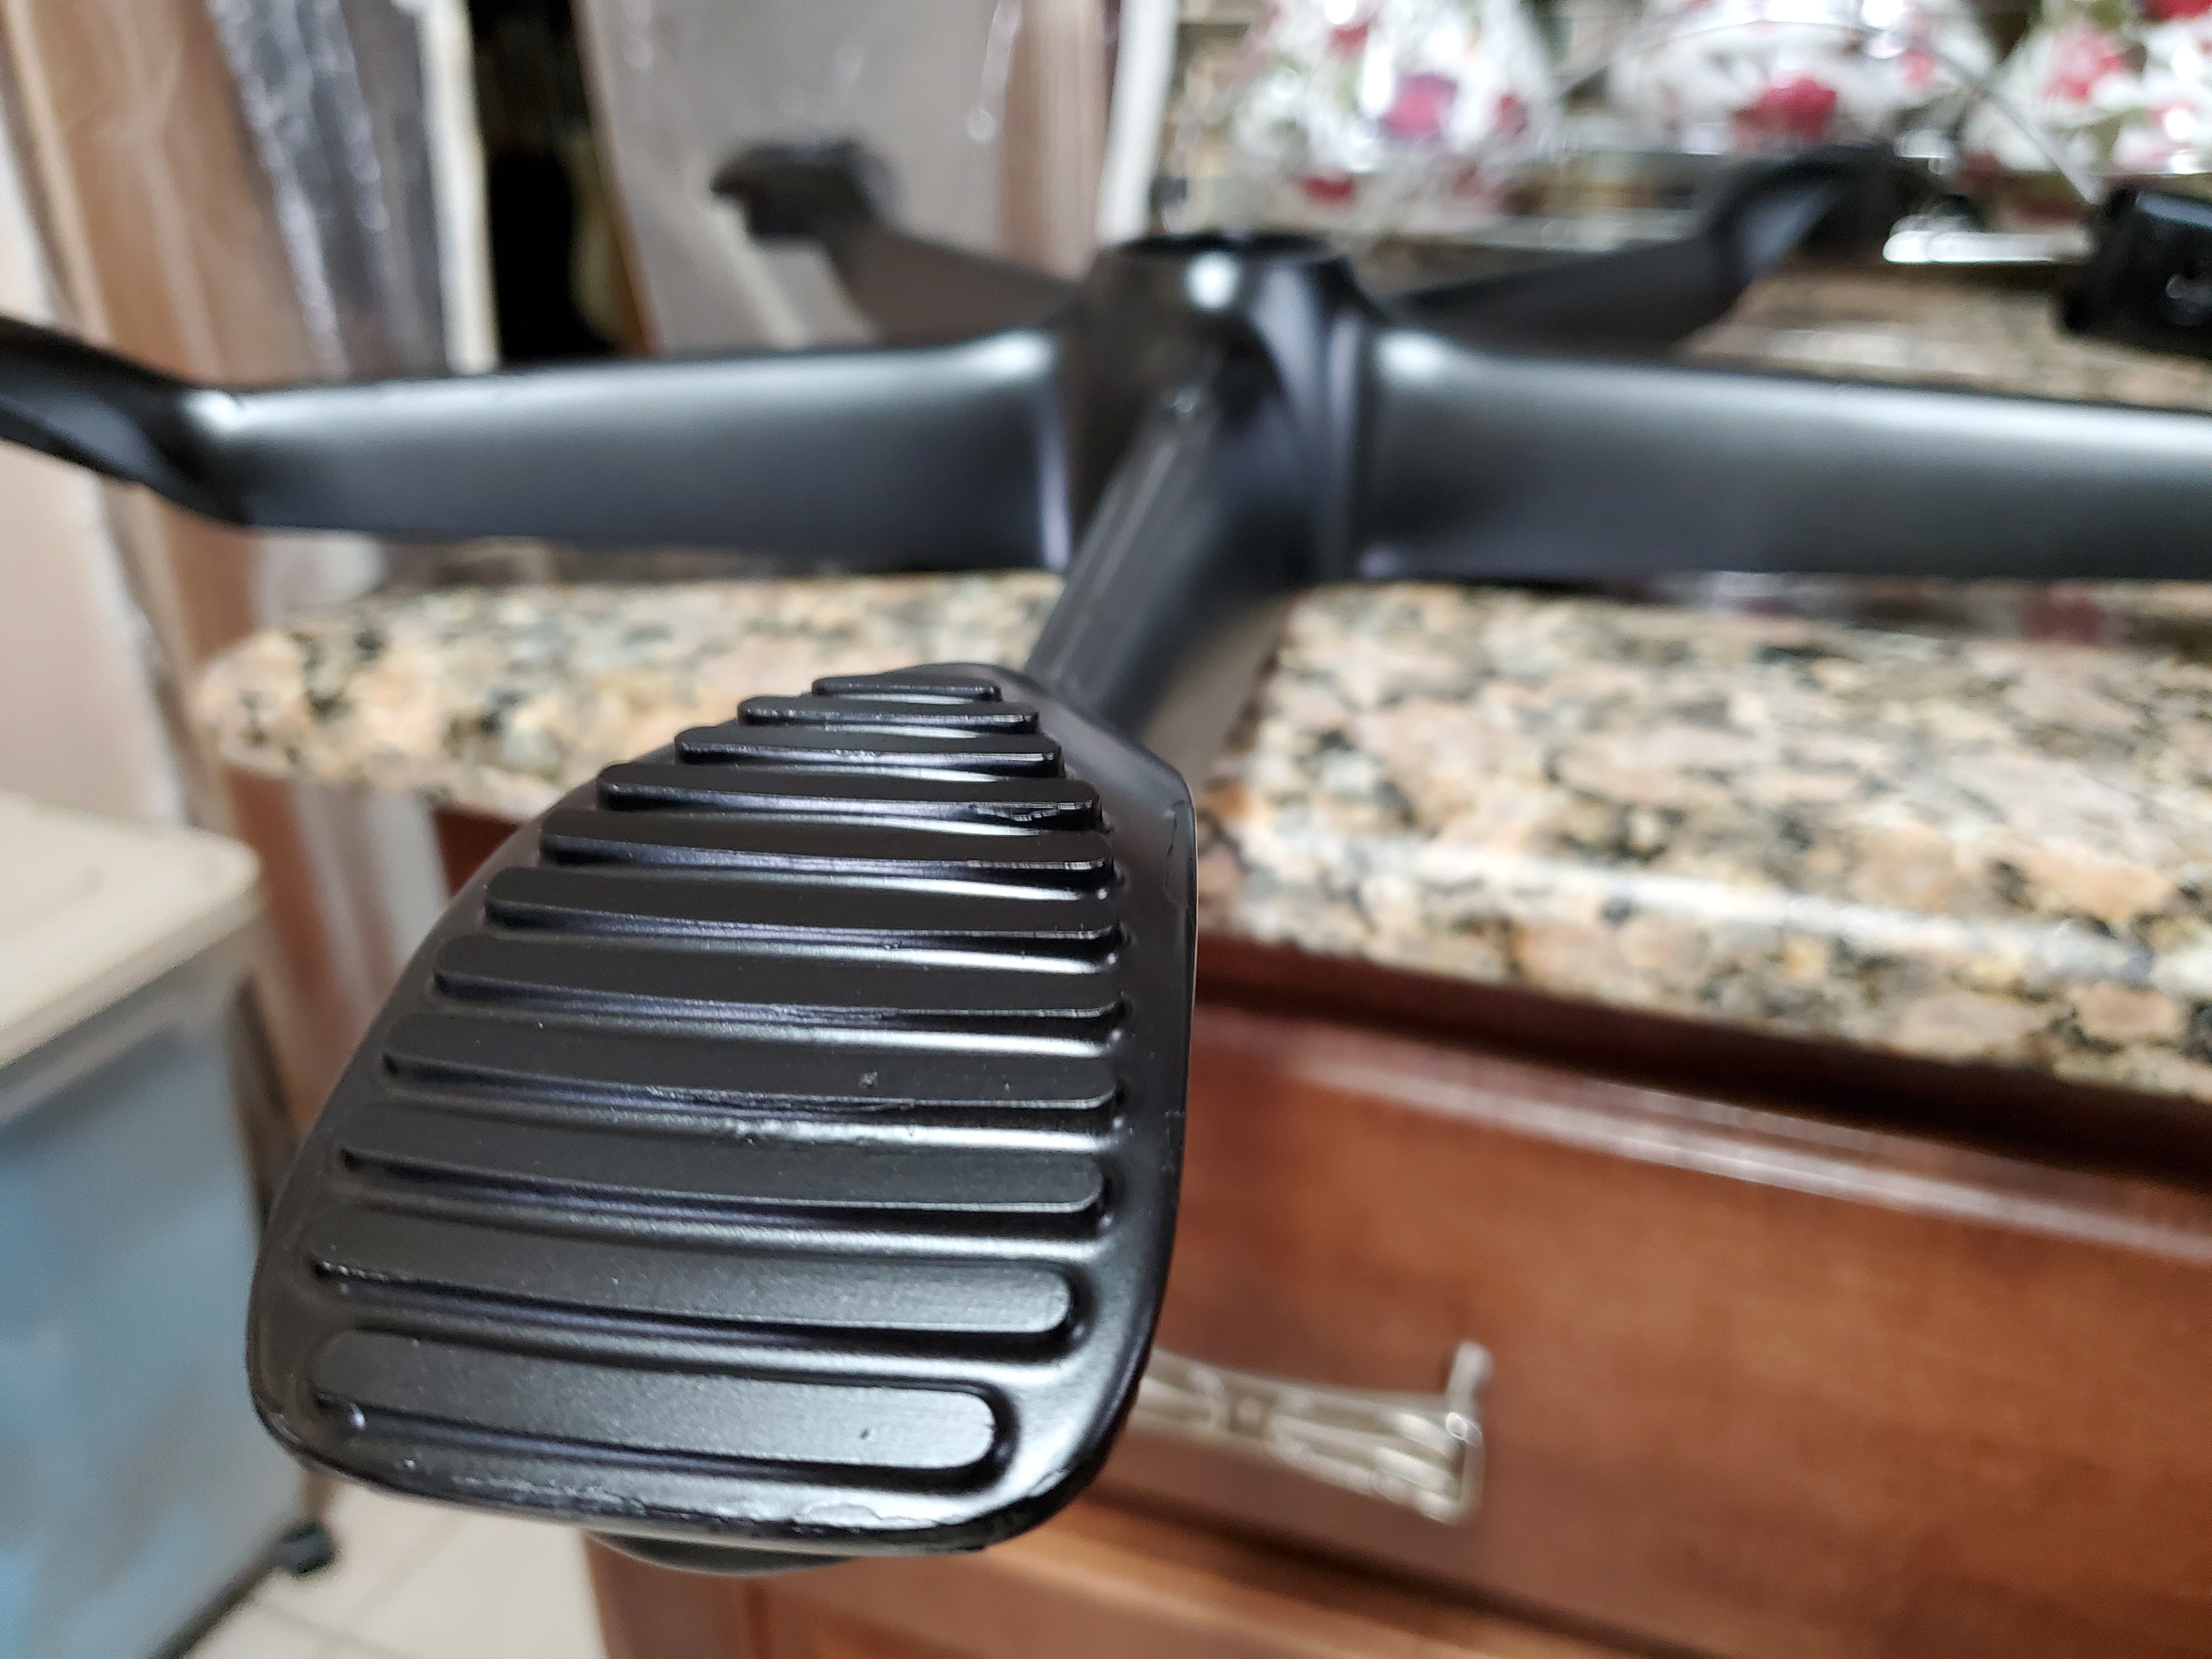
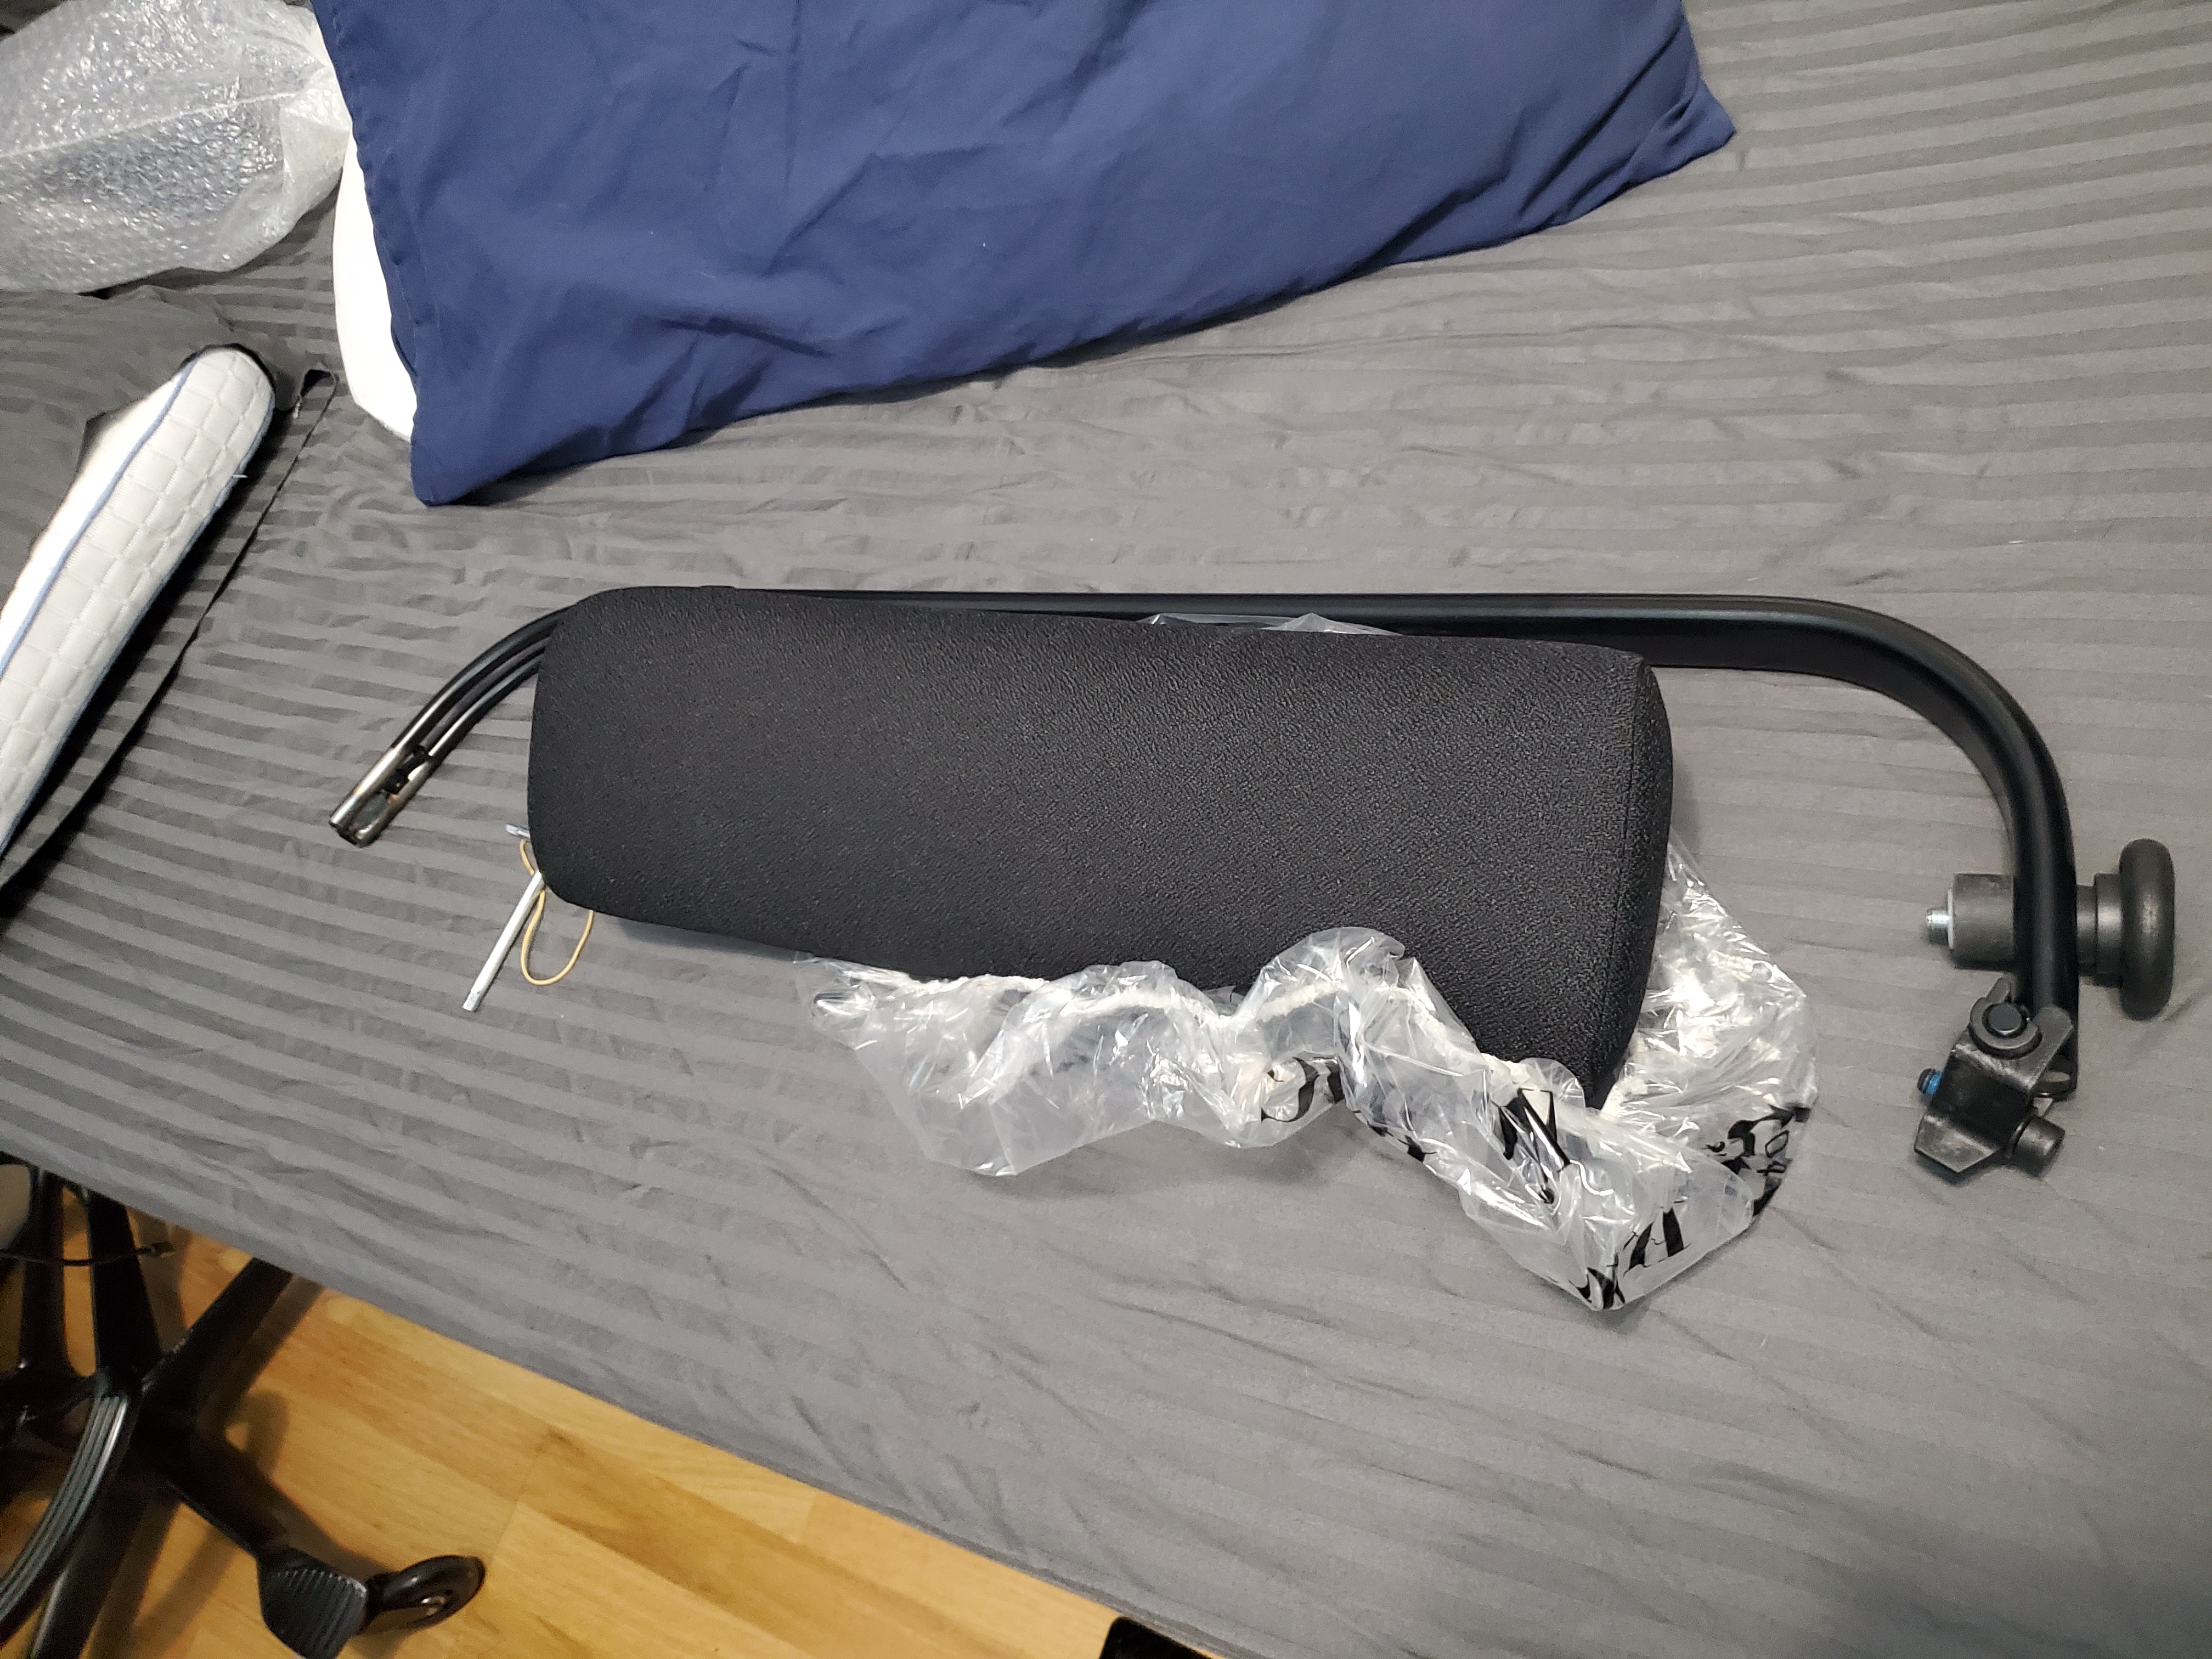
I would say it turned out pretty well for a “mediocre” effort. If you don’t look to closely at certain unseen areas, the Matte Black paint came out perfectly. When re-assembling the chair, I also got a very cool metal-clank noise tapping on the painted black. Below, you can see the final breakdown of pricing and how much the total cost came out to be. You can also see the headrest disassembled, which I wouldn’t recommend others buy, that is one piece that complements the look, though I haven’t really leaned into it as often as the adjustable back support. 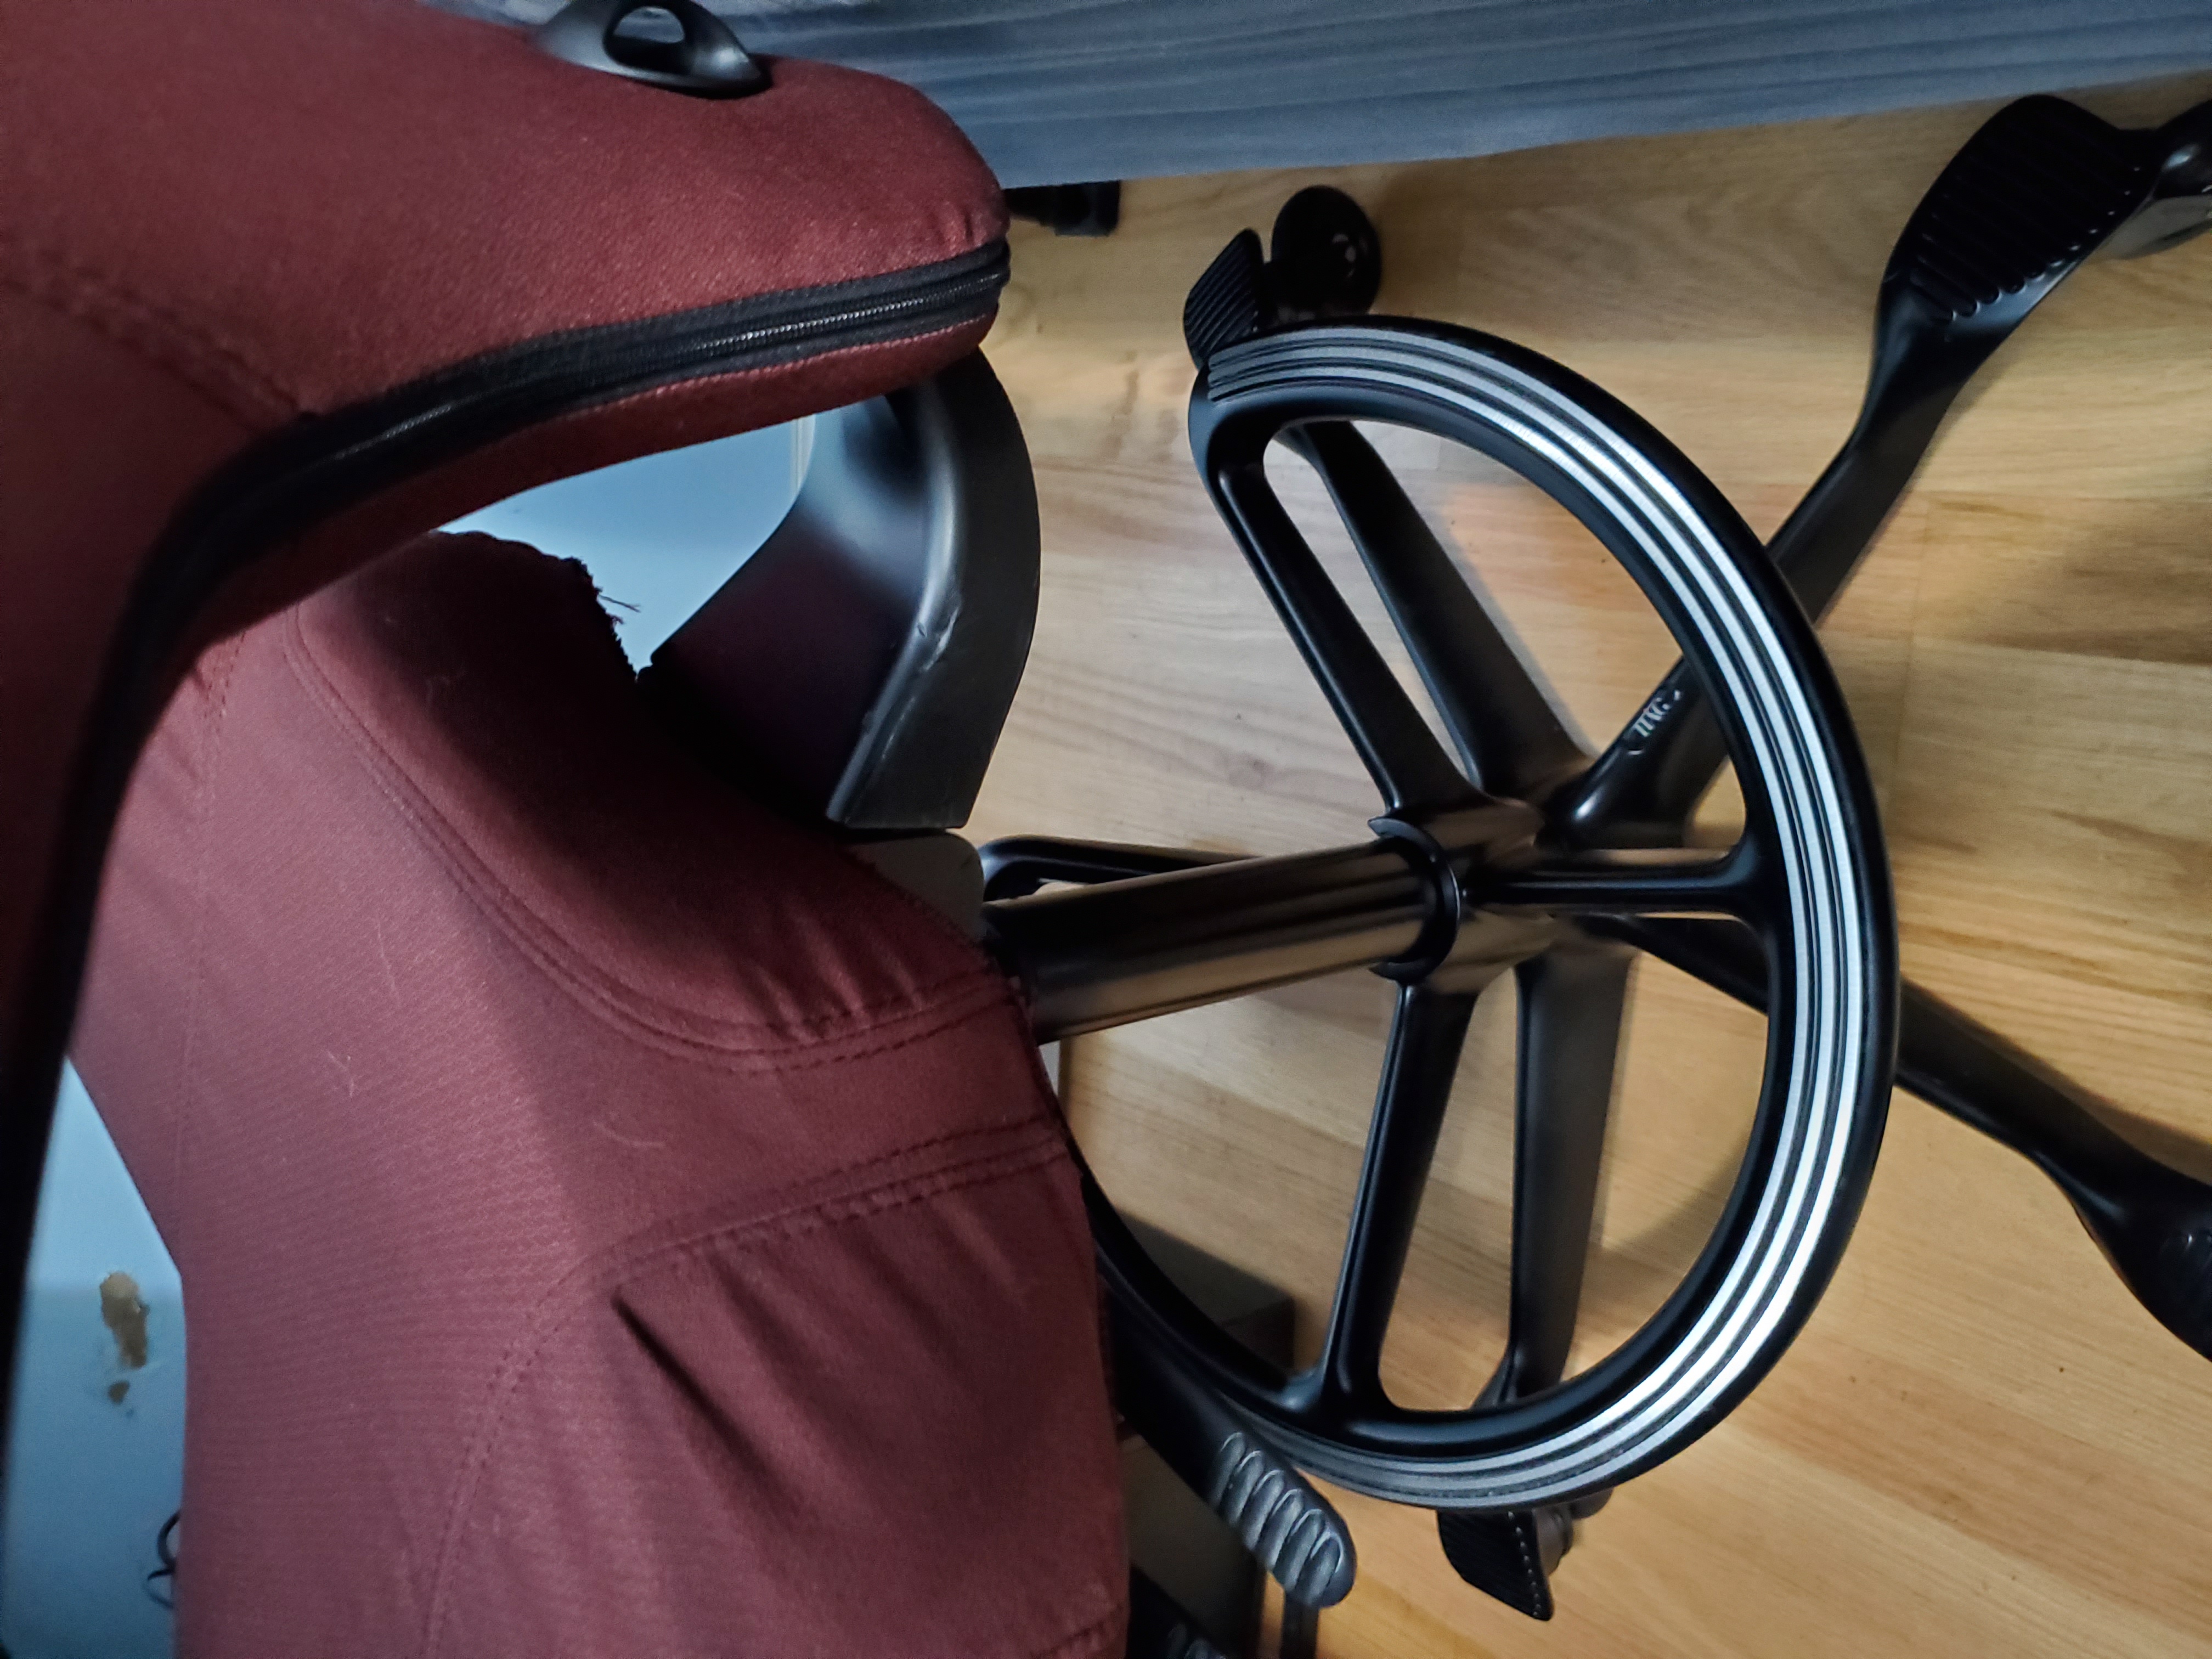
| Item | Price | Date Purchased | Vendor/Notes |
|---|---|---|---|
| HAG Capisco Office Chair | $189.79 | 2019.10.20 | From Kaiyo |
| Krylon Black Spray Paint | $4.98 | 2019.11.26 | From Amazon |
| Rit Dye | $5.52 | 2020.03.02 | From Amazon |
| Rit Dye and Fixative | $8.81 | 2020.03.26 | From Amazon |
| HAG Footring | $103.97 | 2020.04.08 | From Fully |
| Capisco Pneumatic Lift | $54.44 | 2020.04.08 | From Fully |
| HAG Capisco Headrest | $299.41 | 2020.04.13 | From Biomorph |
At the end, the Total Cost for the chair and accessories was around $666.92 with approximately 3 hours spent doing the prep/spray and I guess if you include the time spent buying the accessories too. (For this current project, the entire project duration was probably more like 1 month.) This is much cheaper than most other Ergonomic Chairs (at least if I was to think of Herman Miller chairs) And also much cheaper than the current listing price of a HAG Capisco (which is $799.00 without tax as of this current post’s writing)! In the almost-approximate year that I’ve owned the Capisco, I can definitely say it is one of the most enjoyable items. My only desire now is to see if I can get a replacement cut foam piece for my butt for less sweating and longer comfy gaming sessions. ;D 