In my continued curiosity for more DIY projects, one of the things I’ve been meaning to do was to make my office chair fit with the general aesthetic of my home. Previously purchasing it used from Kaiyo, the HAG Capisco came at a 75% discount compared to the original price of $800. It’s a very ergonimic and weird chair to sit in, but a fun one because of all the positions you can rest your body with. In attempting to make the Capisco more of my own, I did a couple of things to it since it’s planned to be my end-game (unless I buy a brand new or updated version of the chair):
- Thoroughly cleaning the fabric by throwing it in the washing machine
- Buying new (roller blade) wheel casters so the floor wouldn't get torn
- Dyeing the fabric a darker shade to better fit my home.
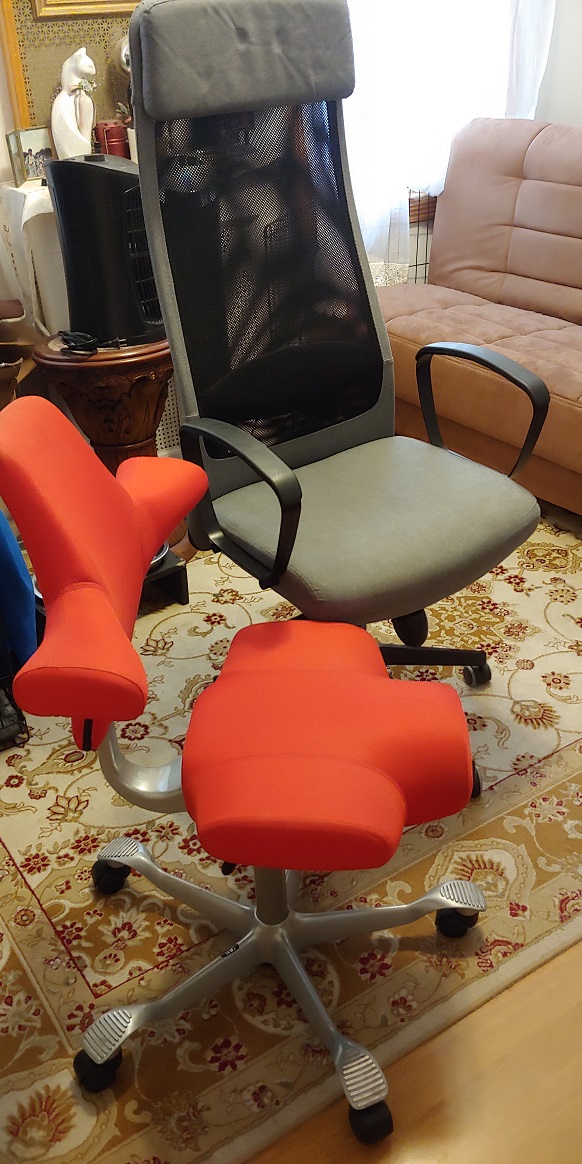
This little task for the last bullet point above (of darkening the chairfabric) was a bit tedious but still a fun experiment nonetheless. Because replacing the Fabric in a traditional way would require a roundabout method of contact HAG, and then potentially working with some international shipping, I wanted to resolve this without jumping through contact-ping-pong. As a result, I decided to try dyeing the eco-polyester fabric to better suit my tastes. Some details for the process:
Total Time: 6 Hours (more if you include letting the fabric line dry)
Total Cost: ~$13
Tools Used:
- A Big Pot
- A Stove for High Heat
- A Metal Ladle
- 2x of Rit 02226 DYE More, 7-Ounce, Graphite
- 1x of Rit Dye RIT COLORSTAY, Dye Fixative
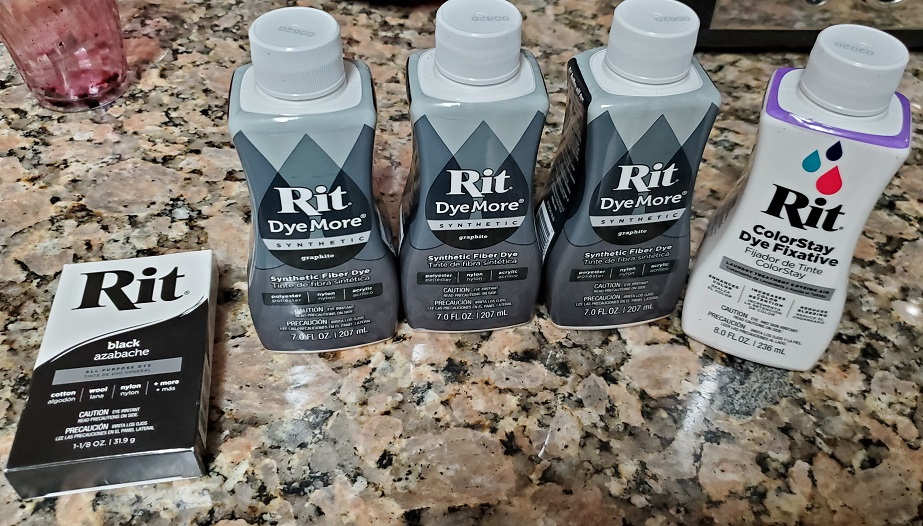
Overall, I had to dye it twice for better color retention to get something close to what I wanted. Following advice from a more experienced friend, I also soaked it overnight in the dark-gray-dye-soup. Unfortunately, I had underestimated the amount of dye needed for the chair fabric to darken to the color as I desired, so I needed to order more alongside a fixative so that the dye wouldn’t rub off into my clothes as I sit in my office chair. 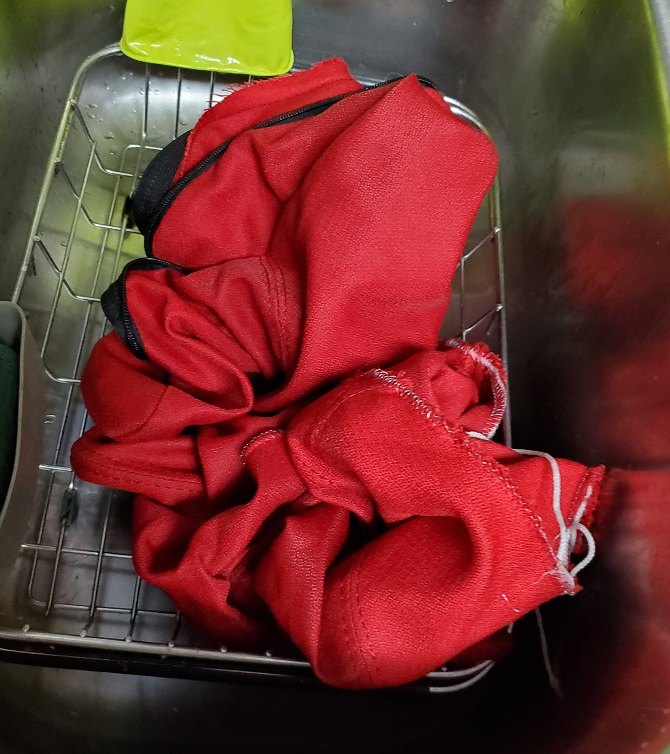
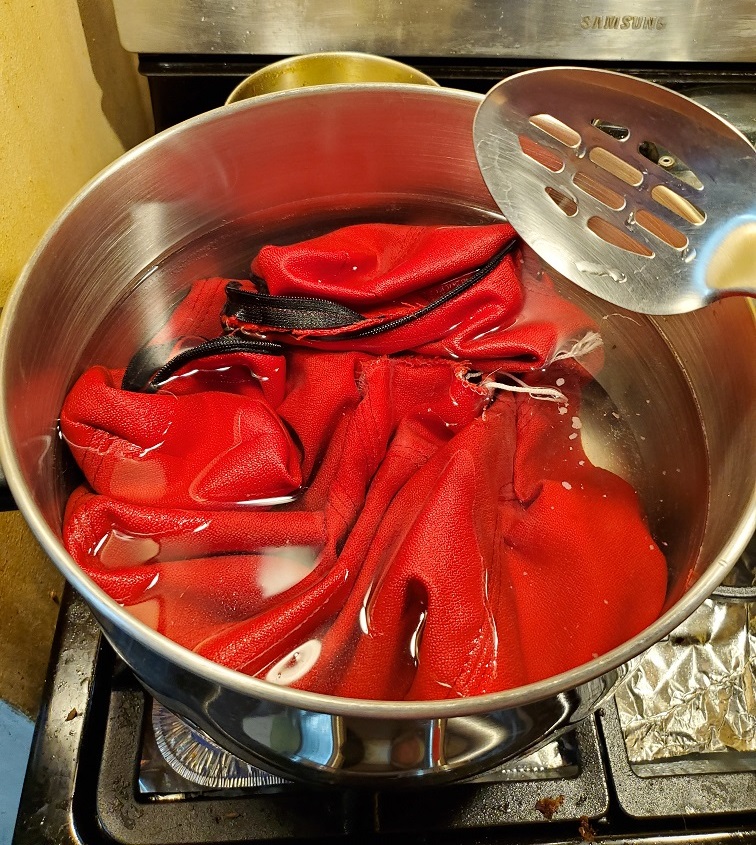
Though tedious because the instructions require you to continuously stir the mix, it is all relatively straightforward to do. Stirring the mixture both times for about an hour, and then using the Dye Fixative which took about 20 minutes per the instructions. The night after the fabric was soaked, I had also rinsed out the excess dye until the water turned more clear, which was about 10 times of wringing it out until I couldn’t see any more dye leaking out of the fabric. 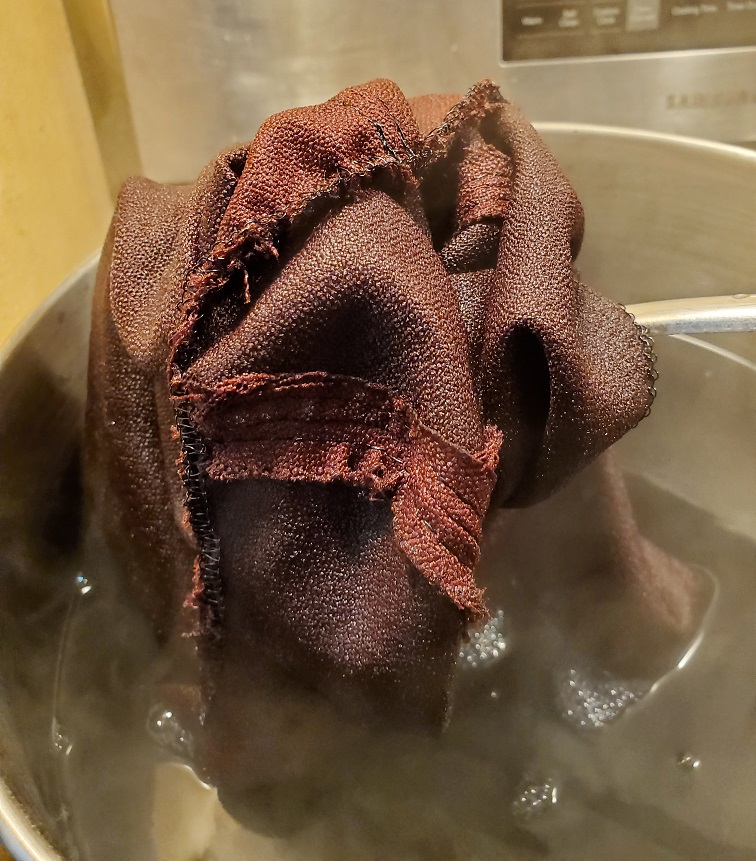
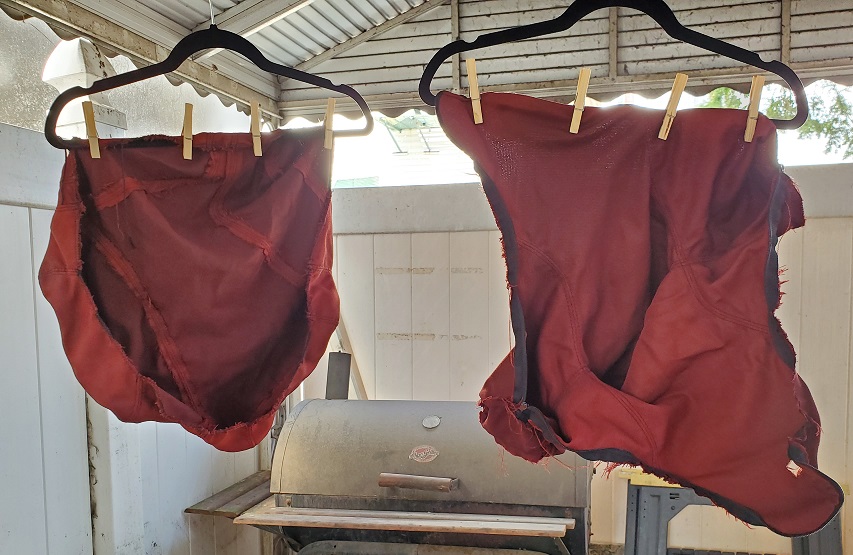
In regards to the color change via the dyeing, I didn’t notice too many changes until about 20 minutes of stirring until I noticed a difference. And then it progressively got darker until the fabric turned more of a maroon and then darker brown color. With the first line-drying, it was a good test which showed the fabric in a consistent gradient. Though there was some color runoff because of liquids flowing downwards from the line-drying, it wasn’t noticable enough to bother me. 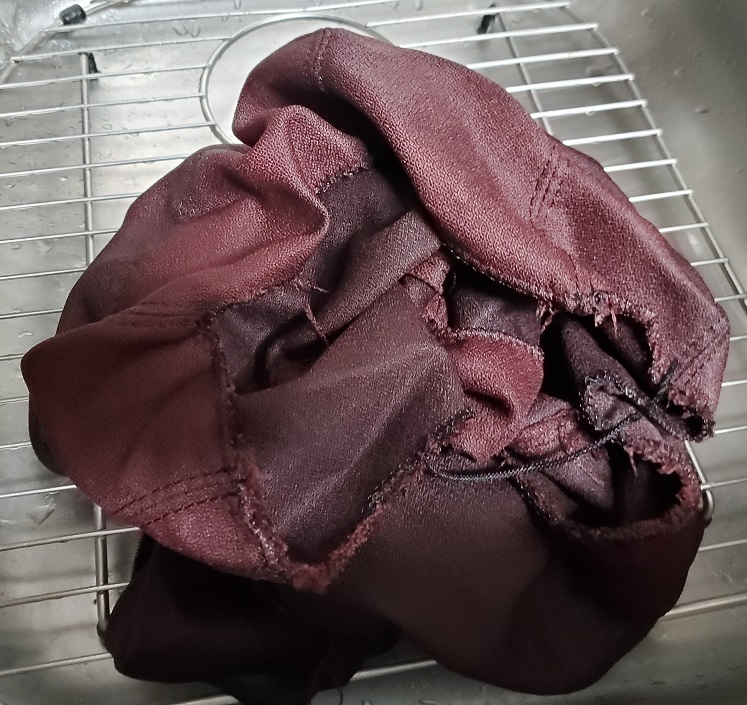
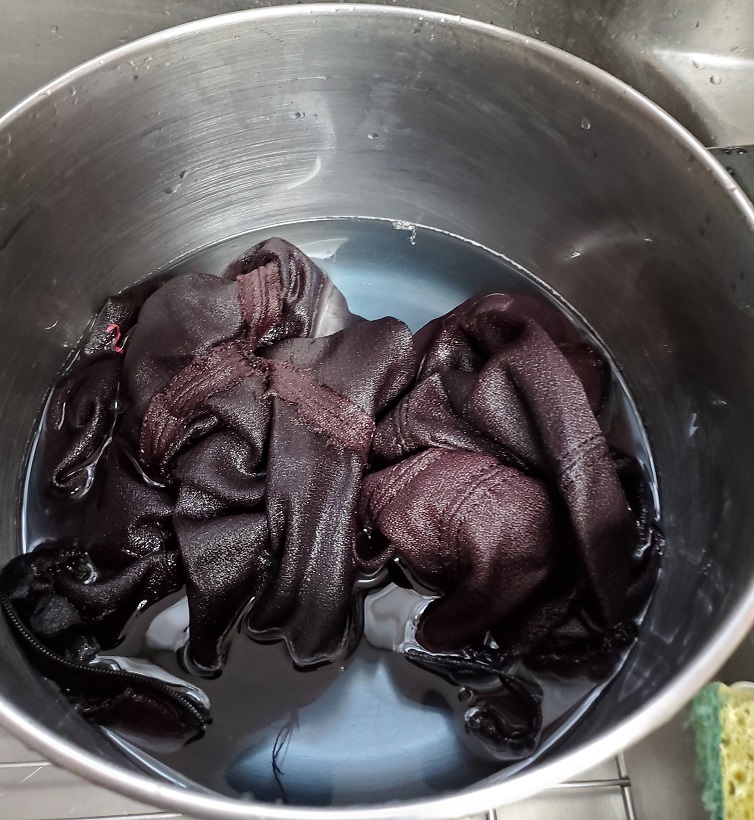
For using the Fixative, it was a final stretch, though surprising because I could also see more excess dye bleeding out of the fabric. Since the fixative was a yellowish color in the clear water of the pot, the heat must have drawn out more of the leftovers. After that was done, it was more final cold-water-washing until there was no more dye run-off, and then additional line drying once again. 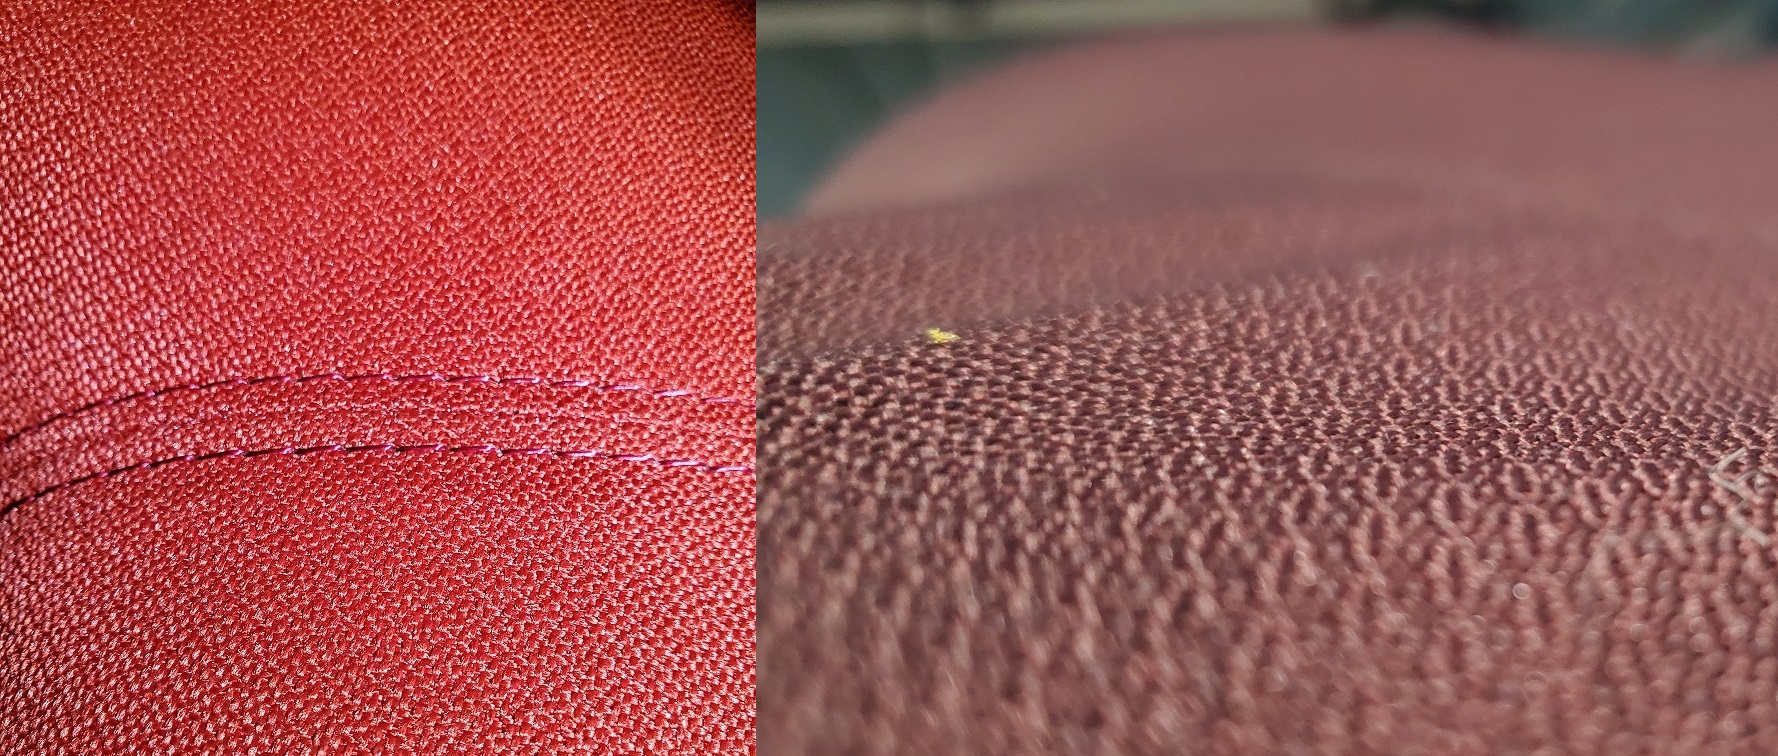
Would I do I again? I likely would, but I would follow with additional dye next time and better preparation due to the process taking at least a whole day for everything to cure. Sitting on my disassembled chair with foam and a missing back support is not as fun. Especially if there’s less-than-ideal weather with lots of humidity in the air, it’ll take even longer for the fabric to dry. But looking forward, it will stand out much less because of the darker color to the rest of the room (since a lot of the house is black, white, gray, and occasional shades of blue). It was a fun experiment and something that I can do now if there aren’t easy options for getting a replacement. 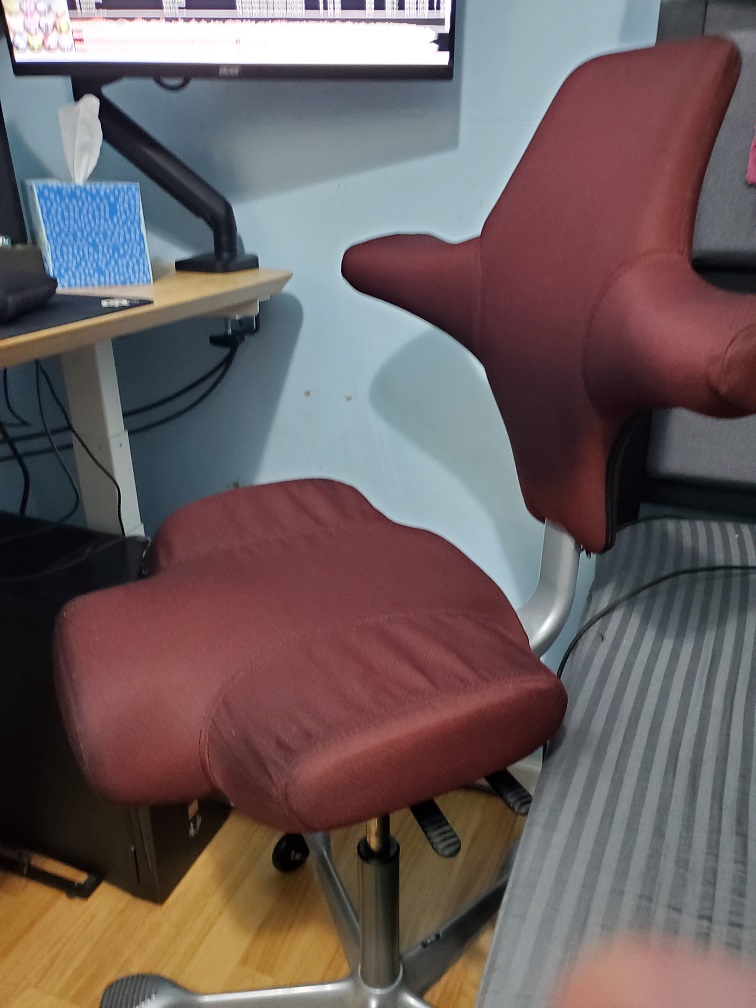
Note, there is a part 2 coming soon. With the re-availability of the Footring and a new Caster on Fully, I’m also doing a second upgrade until I can get my hands on the headrest from a supplier!